
I was so excited to get the Kintsugi Inspirations Suite in the mail. I’ve been dying to start creating cards with it – and it does not disappoint. Everything about this suite is perfection, from the gorgeous specialty paper, the stamps, dies and even the beautiful embellishments. You can’t go wrong with this one. Even the embossing folder is stunning – especially when used with metallic paper. Have you read about the art of Kintsugi? It’s worth some research to read all about it and I’m so glad Stampin’ Up shared this beauty with us.


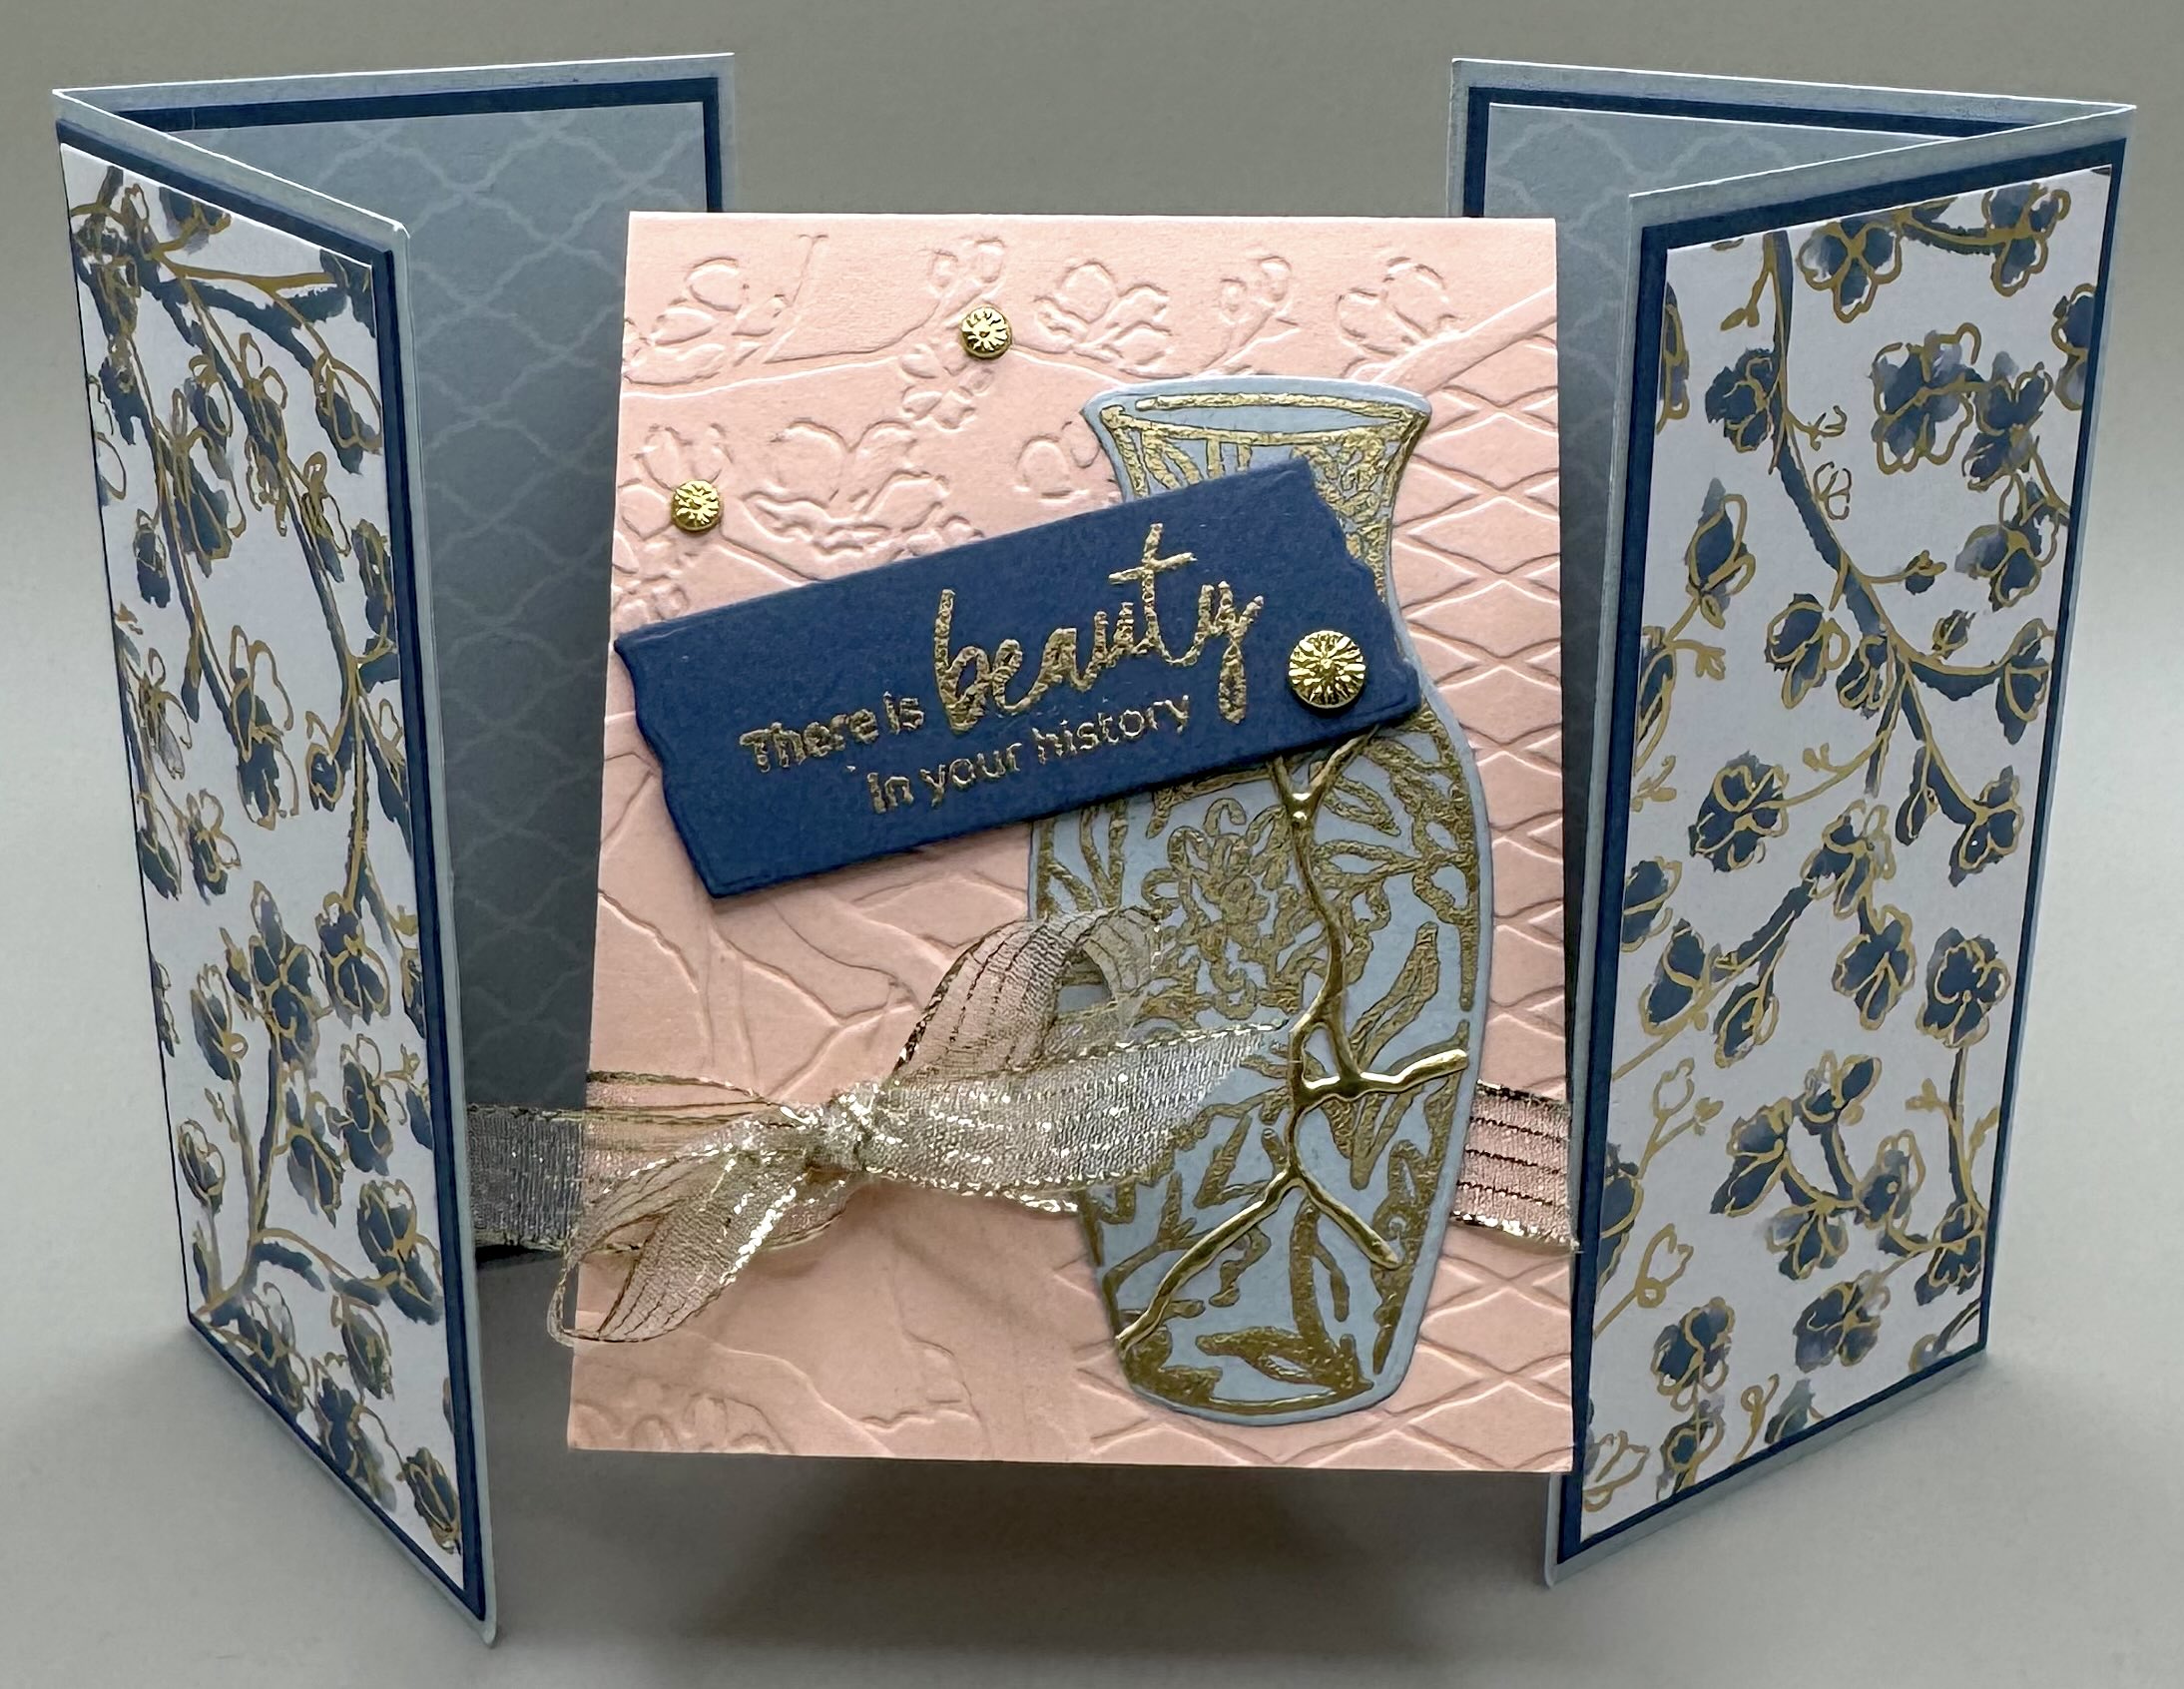
How pretty is this card! I made several because I can’t wait to send them to my friends and family. I coordinated the cardstock with the DSP by creating a base of Cloud Cover and then layered Misty Moonlight (I use this color so much!!) and Petal Pink. These colors are stunning together. I embossed the pottery with gold embossing powder and embossed the Petal Pink card with the coordinated embossing folder. I love that there is even a die for the front greeting – I embossed the greeting in gold as well. The Kintsugi Inspirations 12×12 paper does most of the work on this pretty card. I love the gold details throughout the paper. Don’t forget to add a bit of Gold Striped Ribbon and Flower Accents to finish off your card. Here’s what you need to know to create this card.
CUTTING/SCORING MEASUREMENTS
BASE: (Misty Moonlight) 4 1/4″x11″, score at 2″, 4″, 4 1/2″, 6 1/2″, 7″ and 9″ **see template below
DSP: (Kintsugi Inspirations) 1 3/4″x4″ (x6 and you can mix a few patterns)
CARD: (Petal Pink) 2 3/4″x7″, score at 3 1/2″
INSIDE LAYER: (Basic White) 2 5/8″x3 3/8″
**OPTIONAL DSP LAYER FOR FRONT OF CARD: 2 5/8″x 3 3/8″

Now for a few more samples!


This delicately cute card is made from the Beautiful Butterflies stamps and dies along with the Beautiful Bokeh DSP. I also used the Perennial Postage dies to cut the front card layers. The base is Blackberry Bliss layered with Fresh Freesia. I stamped the butterflies in Blackberry Bliss using my Misti (stamp positioning tool) and then restamped it in Versamark so I could clear emboss both butterflies. It gives the butterfly extra texture and makes it shine so prettily as well! I finished off the card with some retired embellishments (gotta use them up to make room for the new stuff!!)


How fun is this one! I used the Boho Vibes Site to create this card. The base is Secret Sea and I added layers of Cajun Craze. The card is made from Daffodil Delight and I added a panel of the Boho Vibes DSP tot he front of the card. I made a belly band to secure this card. The dies included in the suite make the best rainbows!! Don’t forget to embellish your card – I used the Muted Palette Dots for this one.
I know you’re going to love giving this unique card to someone special. It’s really an interesting fold and there are so many ways to change it up and make it your own special masterpiece. Try it out!
Thanks for stopping by and as always – Happy Crafting!!