
If you love showing off your pretty floral Designer Series Papers then this fun fold is for you. Of course you can use it for lots of other types of cards, but I think flowers are perfect here! I really like this fun fold and I love that you can change up how to fasten your card closed – or not. Sometimes I use a fastener and sometimes I don’t. I’m not a fan of belly bands so I don’t use them here. Instead, check out my other samples to see what I did! I think you’ll like this fun fold a lot.


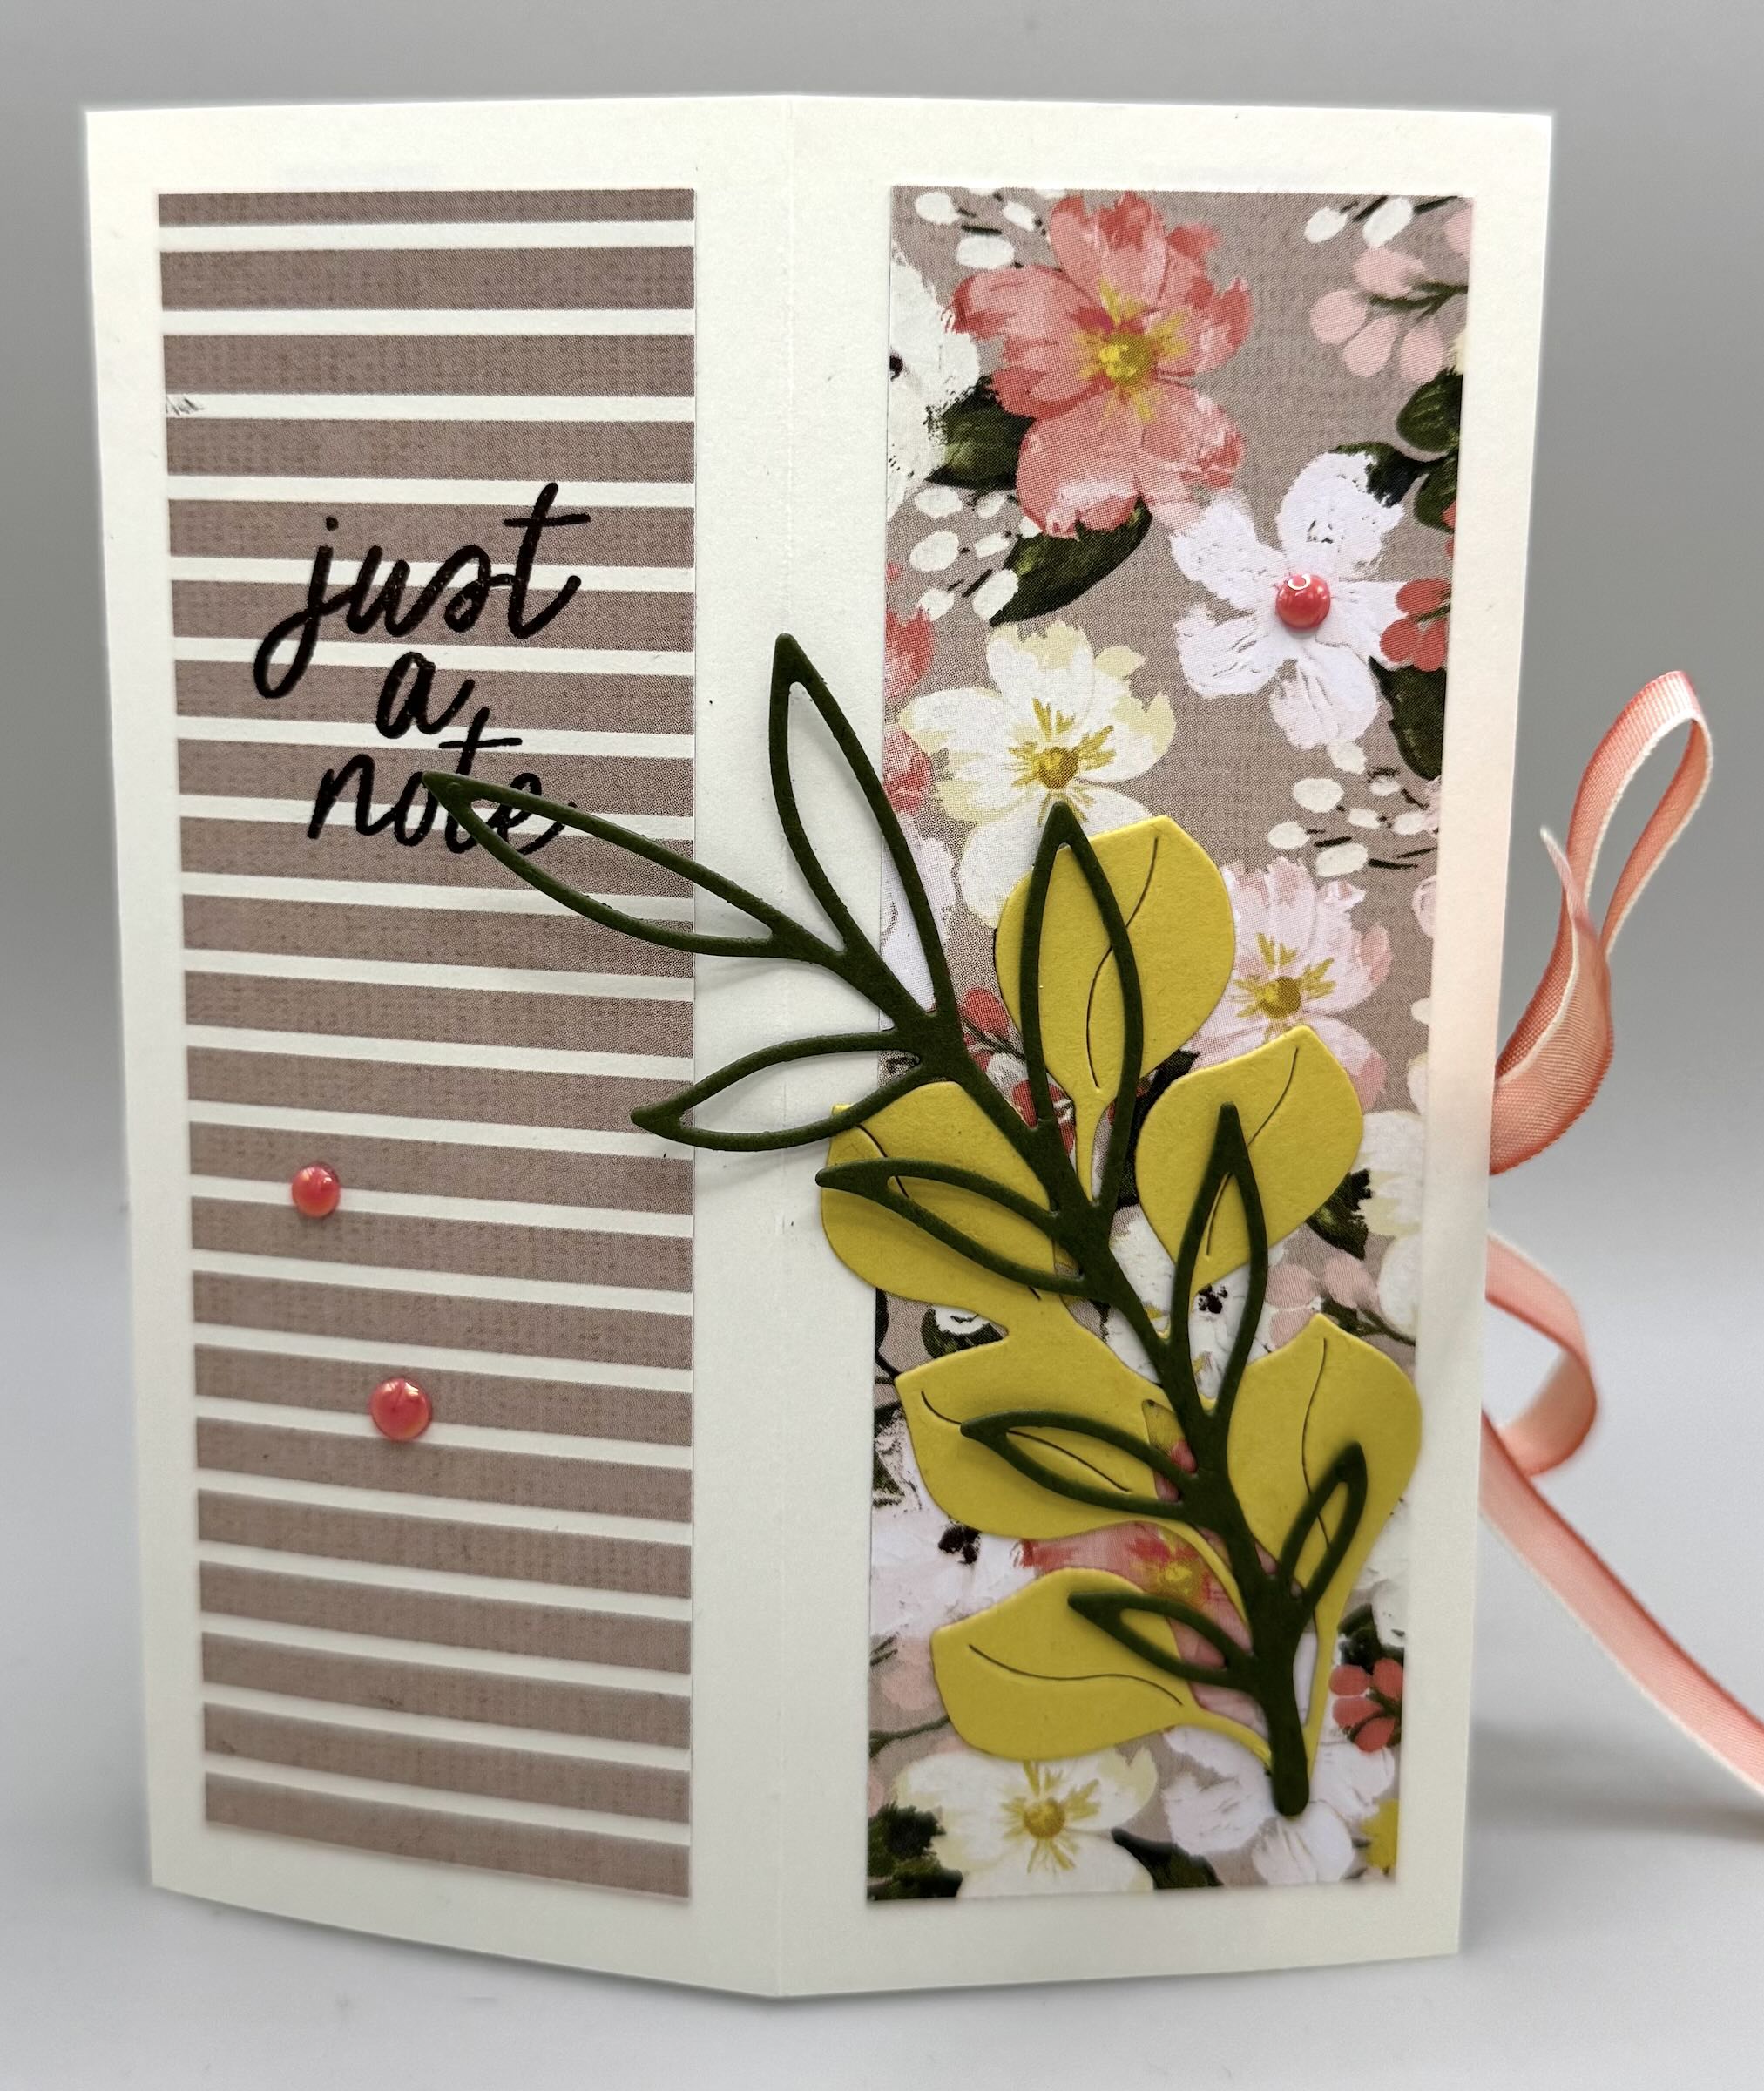
I used the Brushed with Beauty Suite to create this pretty card. I love flowers and stripes together. My card base is Very Vanilla and I used Mossy Meadow as a layer color. The DSP does most of the work here. I stamped in Early Espresso and Calypso Coral. The coordinating dies are perfect for creating a little extra beauty on the front. I decided to add some scrap ribbon to create a closure for this card. You don’t necessarily need it, but why not. Also, since the stamps don’t have any greetings/sentiments I just grabbed my Simply Said stamps and added some to my card. This card will go to one of my sweet customers. Here’s what you need to know to create this card.
CUTTING/SCORING MEASUREMENTS
BASE: (Very Vanilla) 5 1/2″x8 1/2″, score at 2 1/8″, 4 1/4″ and 6 3/8″
FRONT PANELS: (DSP) 1 7/8″x5 1/4″ (x2) **or you can layer them by making a cardstock layer 1 7/8″ x 5 1/4″ (x2) and a DSP layer 1 5/8″x5″ (x2)
INSIDE LAYERS: (DSP) 4″x5 1/4″ (x2), score at 1/2″, 2″, and 3 1/2″; (Mossy Meadow) 2 3/4″x4 1/4″ (x2); (Very Vanilla) 2 1/2″x4″ (x2)
MECHANISM: (DSP) 3″x3″, score at 1/2″, 1″, 2″, and 2 1/2″ then rotate a cut into four 3/4″ strips.


I used the Beautiful Gallery Suite to create this sample. I love the Designer Series Paper. The base is Basic Beige and I layered Calypso Coral to match the DSP. As you can see, I only added panels to one side of the card front. I die cut a flower stem in Cloud Cover to add in place of the panel on the right. I stamped the inside of the card in Calypso Coral. I didn’t create a closure for this card – it really isn’t necessary. This one might be my favorite, but I have a lot of “favorites”, lol.


I used the Lovely Blossoms Suite for this final sample. The card base is Cloud Cover and I layered Secret Sea and Old Olive cardstock with the DSP to bring all the colors together. It’s another gorgeous floral suite. I created a cluster of flowers for the front and used my bone folder to curl the flowers a bit to give them more life. I stamped in Old Olive and Tuxedo Black Memento Ink and then used a Cloud Cover Stampin’ Blend to accent my flower petals. I love my fun little closure on this card. I added a brad to the front and back and used some white string and a flower to create the fun little hanging piece. Hmmmm, wouldn’t that make a pretty bookmark? That might be my next side project…..
Try this one out with your favorite DSP and stamps!! You’ll be glad you did.
Happy Crafting.
2 responses to “How to Make a Floating Double Pillar Card”
•
Love these cards. Please subscribe me.
•
Hi Geri. You’ll have to personally subscribe as I want to make sure it’s done properly. Thanks!