
I couldn’t resist sharing one more creative way to use those fabulous Everyday Arches Dies—and this one is a showstopper! This arched pop-out card design uses layered arches to form the base, creating a layout that’s both simple and incredibly versatile. You can easily customize it for any occasion. And for a fun twist, don’t miss my final sample where I rotate the design sideways—it’s just as adorable and totally changes the look!
Let’s take a closer look at each card…


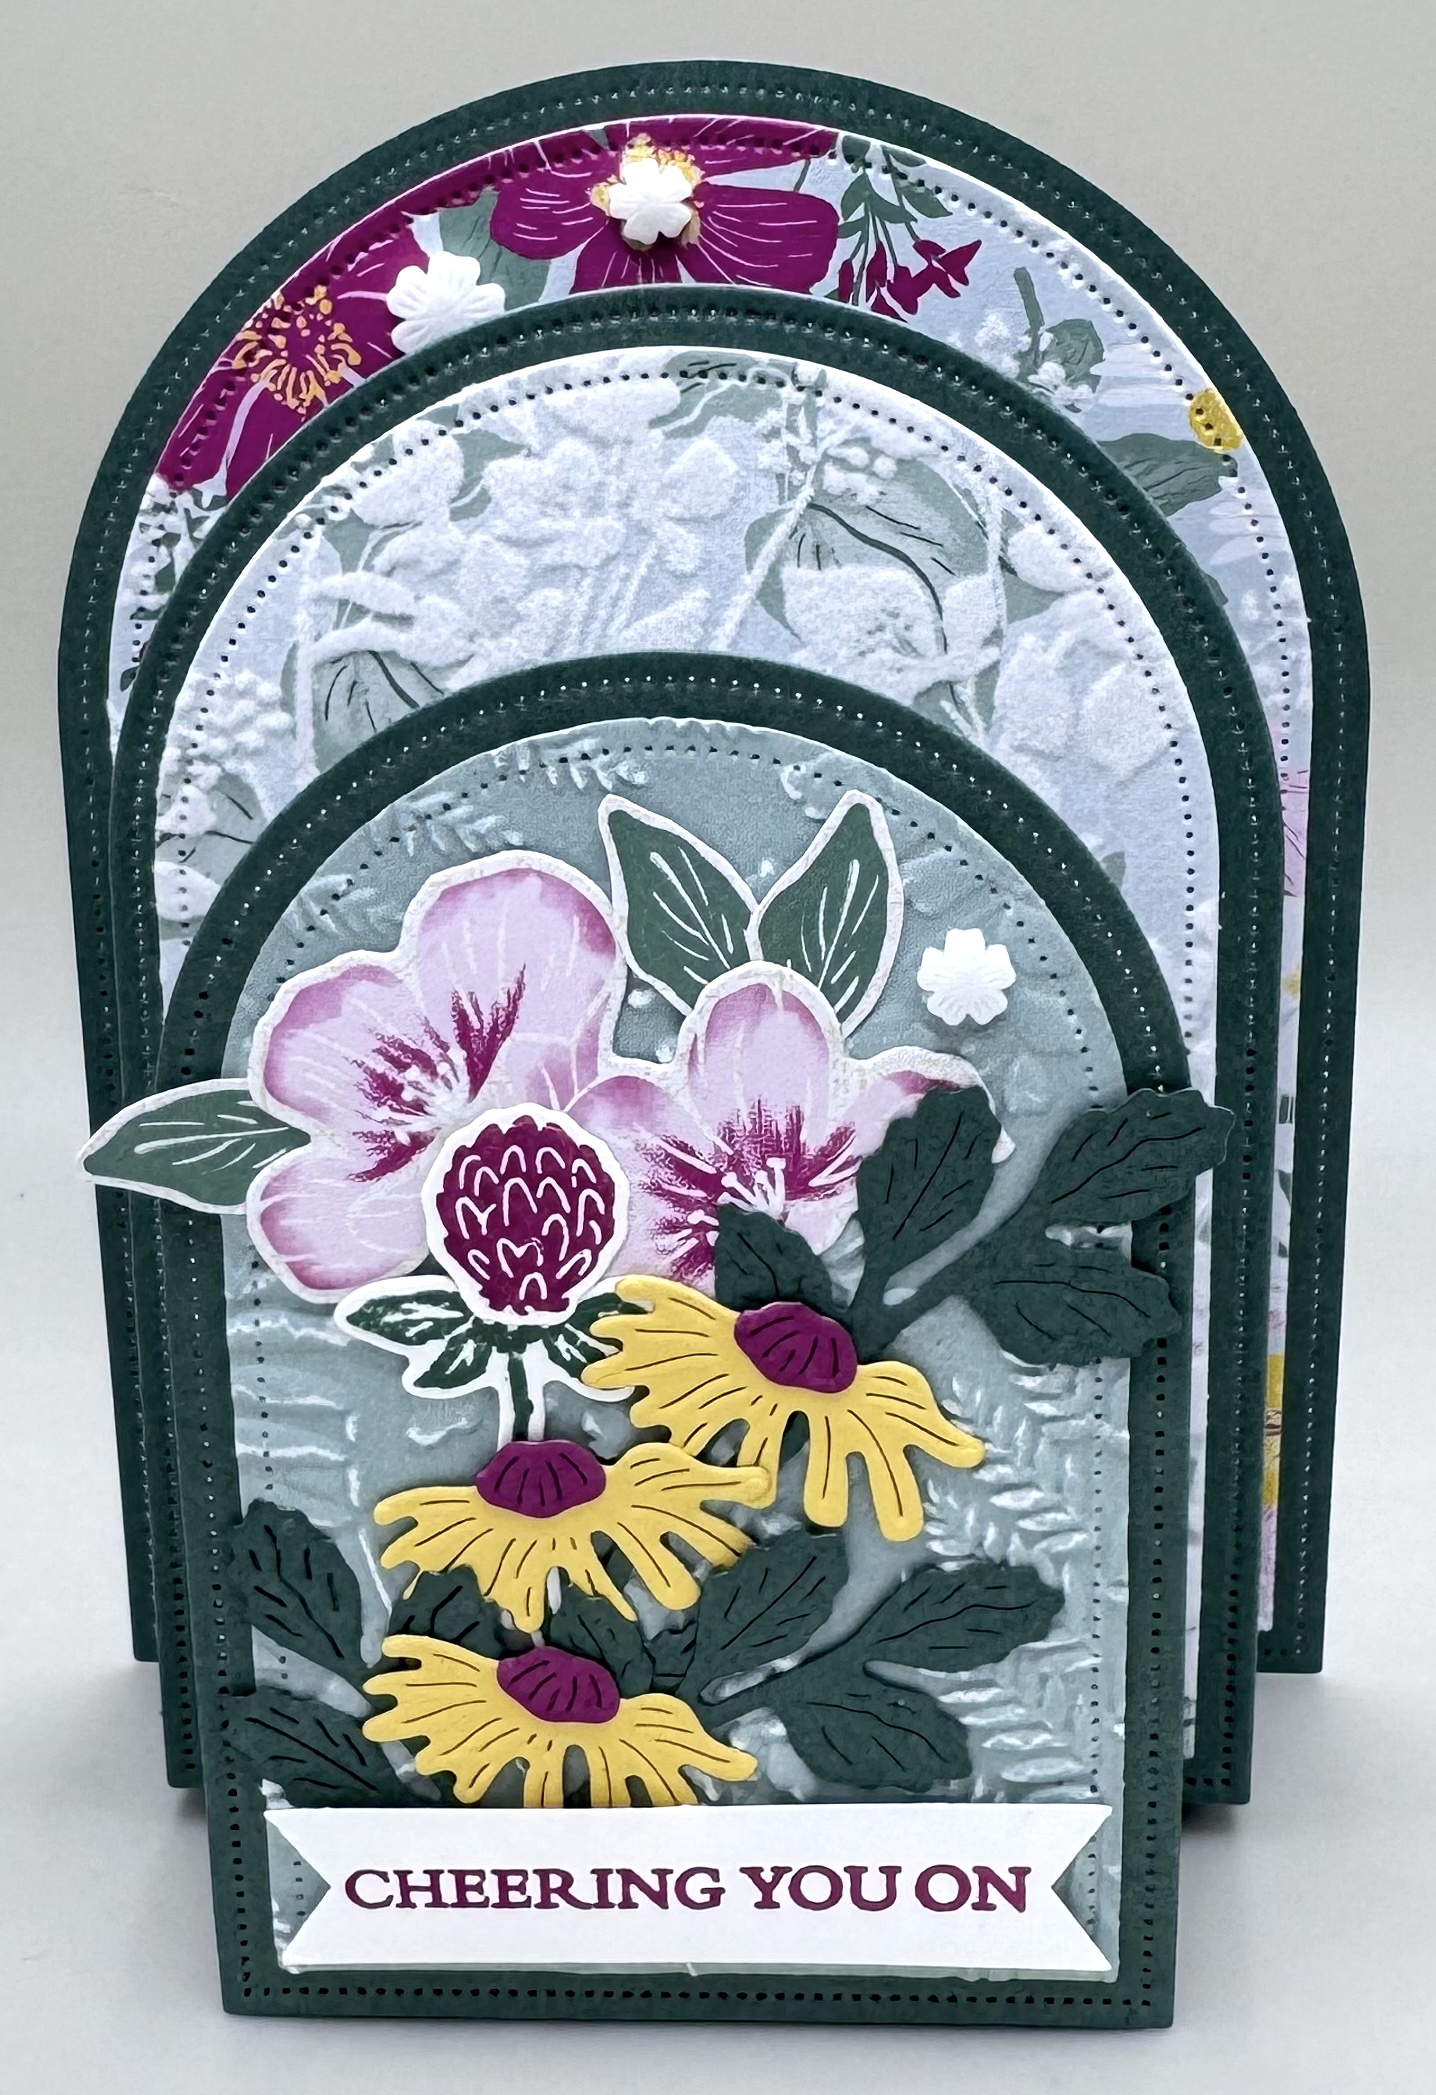
The first card features the brand-new Peaceful Pine In-Color, and I have to admit—I’m already completely obsessed! I’ve nearly used up my stash, so I’m anxiously awaiting my next order. The rich tone pairs beautifully with the gorgeous Velvet Meadow Suite, which includes Designer Series Paper with a soft, velvety texture woven into the floral patterns—such a unique and elegant touch.
For the front arch, I used Lost Lagoon two-toned cardstock and embossed it with the Fern & Flora 3D Embossing Folder. Here’s a tip: lightly sanding the embossed surface reveals the white core, giving it a subtle shabby chic texture that adds so much character. I finished the card with a layered floral bouquet using coordinating dies and stamped details in Berry Burst, Lost Lagoon, and Peaceful Pine. This design is perfect for so many occasions!
CUTTING/SCORING MEASUREMENTS
BASE: (PEACEFUL PINE): #1, #3, and #5 Die **Everyday Arches Dies from largest#1 to smallest #10
DSP LAYERS: (VELVET MEADOW) #2 an d #4; (Basic White) #2; (Lost Lagoon 12×12 Two Toned) #6
POP OUT MECHANISM: (Peaceful Pine) 3 1/2″x5 3/4″, with 3 1/2″ at the top, score at 3/4″, 1 1/2″, 2 1/4″, and 3″; then, rotate so 5 3/4″ is at the top and then cut at 3 1/4″. That gives you 1 piece that is 3 1/4″x3 1/2″ and 1 piece that is 3 1/2″x2 1/2″


For my second card, I switched things up with a Misty Moonlight base paired with the Everyday Essentials Mix & Match DSP pack. This paper pack is incredibly versatile—it truly has something for everything! I combined it with the Scalloped Blooms Bundle, which includes lovely sentiments and dies that can be used not only for flowers but also for layering and creating tags.
The flowers were die-cut using DSP and Bubble Bath cardstock, with small Peaceful Pine leaves for contrast. I softly blended Bubble Bath ink onto Basic White cardstock to create a gentle, spring-inspired background. The overall look is light, fresh, and perfect for a variety of occasions.


Now for my final card—and honestly, this one surprised me in the best way! I decided to rotate the arches sideways, and the result is absolutely stunning. This version features the beautiful Waterside Retreat Suite, which has quickly become one of my all-time favorites.
I used Gray Granite for the base and created the front arch with an acetate sheet, allowing the scene behind it to really shine. The Adirondack chair on the back of the card, stamped in Pecan Pie, sits peacefully by the lakeshore and was colored with Stampin’ Blends. I added a touch of Color Lifter to give it a slightly weathered look. The soft Gray Granite birds tie everything together beautifully. This design would make a perfect Father’s Day card—or any card for someone who loves the outdoors.
So, which one is your favorite?
I hope these designs inspire you to give the arched pop-out card a try! Don’t forget to visit my online store to grab these amazing products—or consider joining my team so we can keep inspiring each other.
Happy Crafting!
2 responses to “How to Make an Arched Pop Out Card”
•
love your arch cards
•
Thank you, Peggie! They are so much fun to create!☺️