
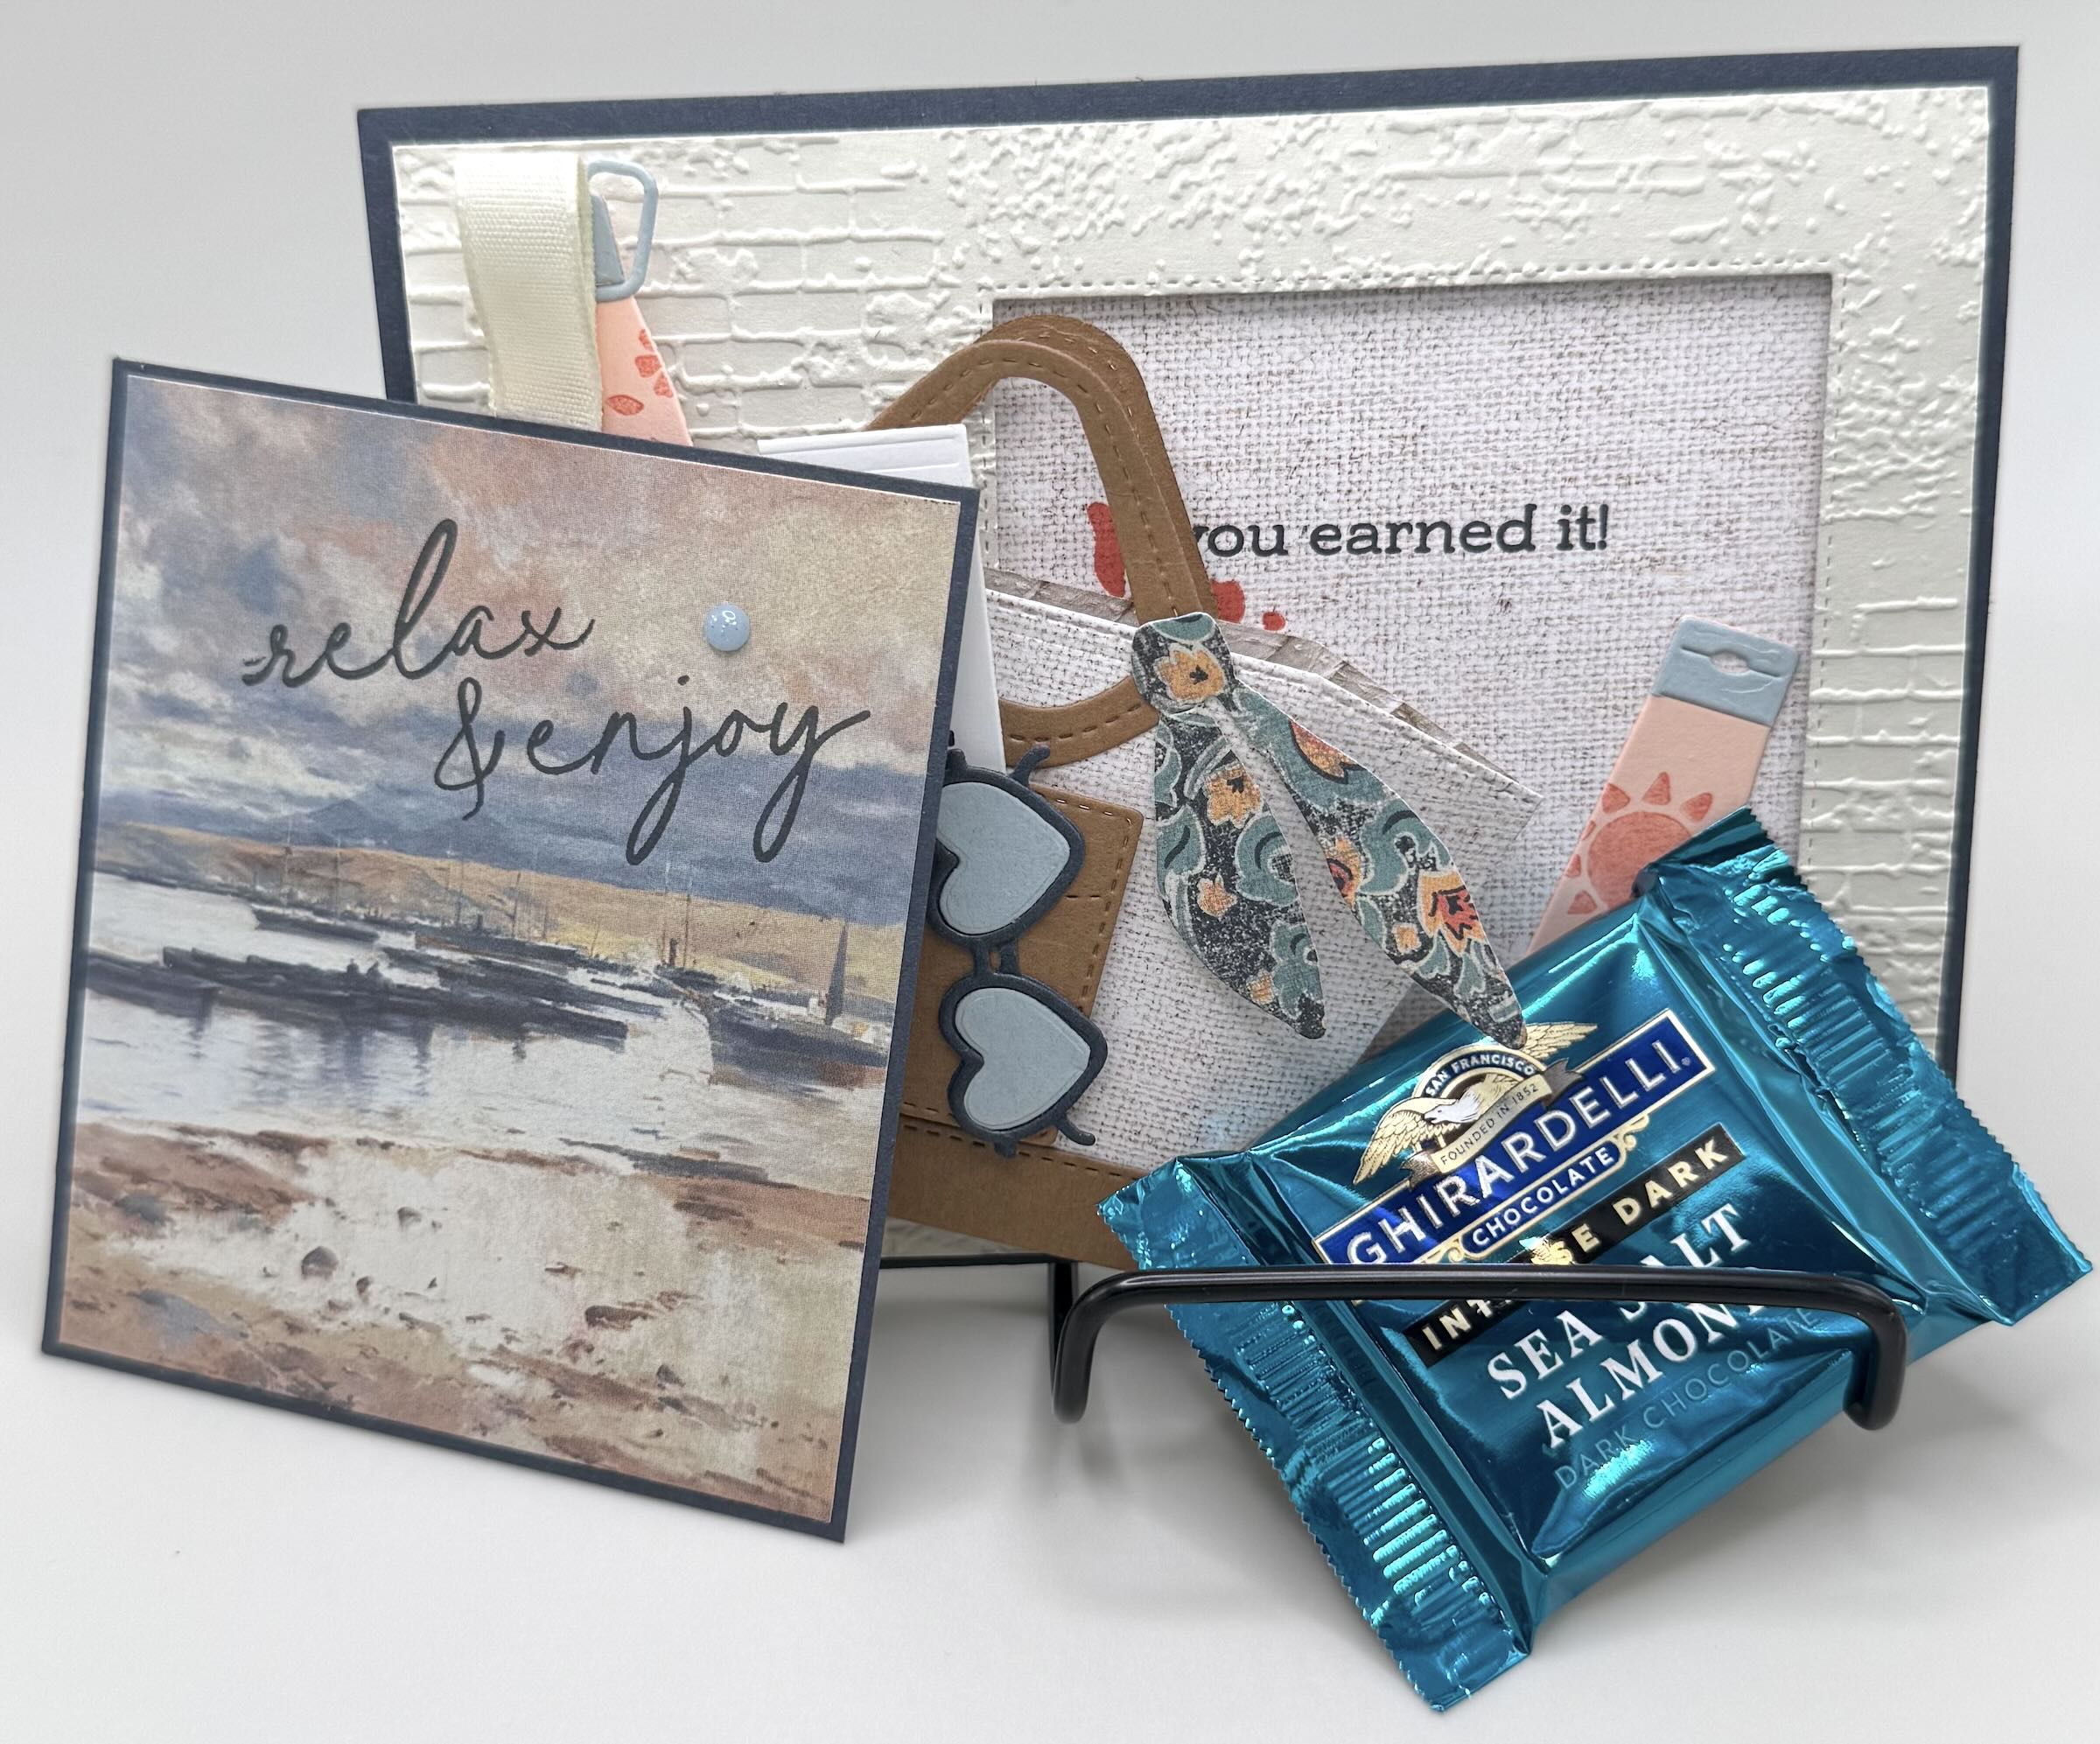
I haven’t done a pull tab window tutorial in a long time. This one is a bit different and I love that you can create it in any direction…portrait, landscape, from the top, from the side or bottom….completely customizable. I’m really enjoying the Notes & Totes bundle as well. The tote bag die is perfect as a stand alone treat carrier or flatted a bit to fit on a card. It fits lots of little surprises to make your card extra special. I paired the gorgeous Beautiful Gallery DSP for such a pretty “window view.” If you use the Woven Textures DSP for the tote bag you have such a creative creation! I know you’re going to love this one!!


I am so pleased with this card design and I really enjoyed putting it all together. I used the Notes & Totes Bundle of products and paired it with the gorgeous Beautiful Gallery DSP. The card base is Secret Sea and I layered the card with Basic Beige and DSP from both Beautiful Gallery and Woven Textures. The Woven Textures DSP is perfect for the tote bag. I also used several colors of card stock for the extra features on this card…Pecan Pie, Calypso Coral, Cloud Cover and Basic White. I stamped in Secret Sea. The pull tab uses Basic Beige ribbon. You’ll want to have some Adhesive Foam Strips handy to create this card, too.
CUTTING/SCORING MEASUREMENTS
BASE: (Secret Sea) 4 1/4″x5 1/2″
INSIDE LAYER: (Woven Textures) 5″x3 3/4″
WINDOW: (Basic Beige) 4″x5 1/4″ **then emboss and die cut window with 2 3/4″ square
PULL TAB: (Secret Sea) 3 1/8″x3 3/8″; (Beautiful Gallery) 3″x3 1/2″; (Basic Beige) 3″x3 1/2″; Basic Beige Ribbon about 3 1/4″


I love how pretty this card came out! It’s going to one of my dearest friends (since 6th grade!) for her upcoming birthday. I used the new In-Color shades called Strawberry Slush and Darling Duckling. I also used the pretty Florals in Bloom DSP and Pretty Florals stamps and dies. Building these flowers is a snap with the dies! I used the Forever Plaid 3D Embossing Folder on the front and finished the cards off with some gems. I can’t wait to drop it in the mail!!


This last card was fun! My son is turning 29 and he’ll always be my little boy! I made him this cute card. I used Granny Apple Green for the Base and layered it with Pumpkin Pie and some leftover DSP from Sale-A-Bration. I colored all my dinosaurs with Stampin’ Blends and even added eyeglasses just like my son wears. I decided to add balloons to the front and attached the strings to the inside of the window. I’m thrilled with hot this one came out. So sweet! He’s going to love it.
I love this Pull Tab Window Card more than any others I’ve ever made. I hope you get time to make a card for someone you love today as well!
Happy Crafting!