
It’s September and that means it’s the season to think about all those fun Halloween cards and decorations. I have so many fun ideas planned out in my head!! This video was fun because these cards will be sent to the littles in our family. The Spooky Sweet Suite and Fright Night Bundle works so well together to make the cutest cards. This fun fold can be made two ways and in this video I’ll show you both. Happy Fall!


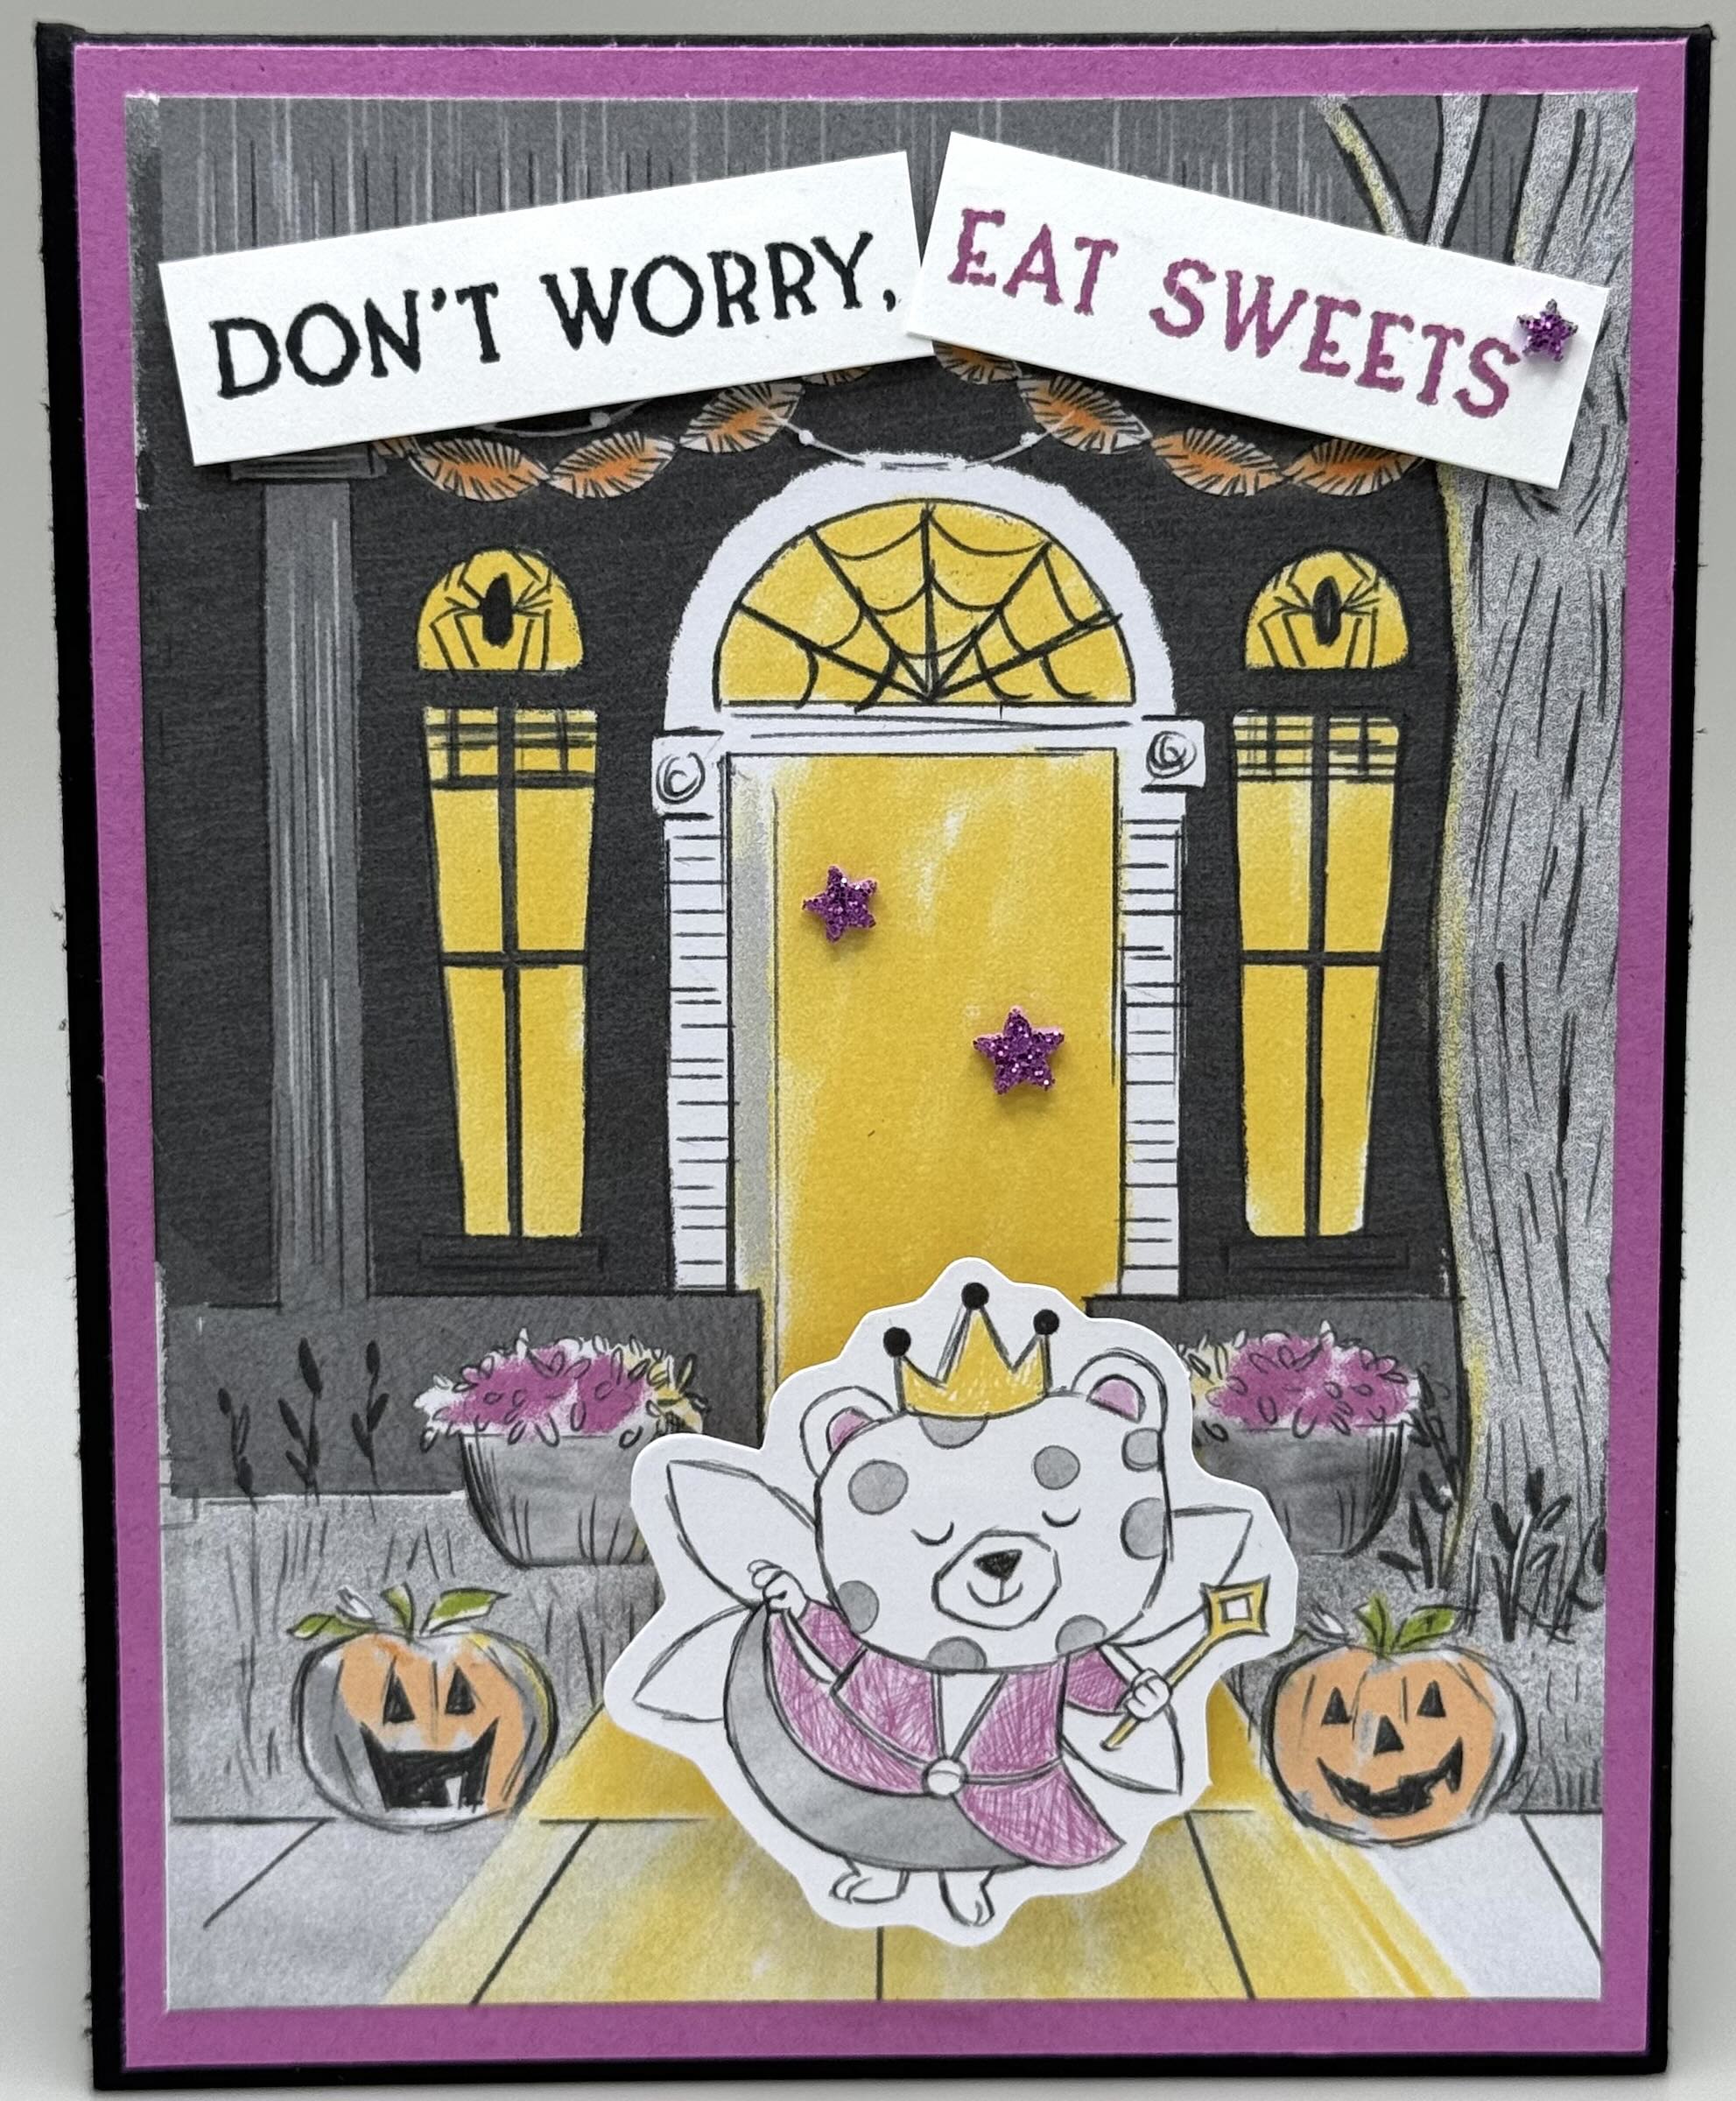
Isn’t this card the sweetest. My granddaughters will love it. I used the products from the Spooky Sweet Suite and I just love it. The Spooky Sweet 12×12 paper does most of the work for you! There are two sheets of laser cut pieces which makes crafting your cards super simple. I love the several scenes on the paper as well. You just add your little trick or treaters and some embellishments and you’ve got a great little card. I create the base in Basic Black and added a layer or Petunia Pop. The front greeting is just stamped on a scrap and cut to size. I used the reverse side of the paper with the fun candy designs and simply stamped Happy Halloween and added some fun. This card comes together in minutes.The Spooky Halloween stamp set has some fun little trick or treaters but on this card I used the laser cut dies instead. Also, to give this little princess some extra flight, I added a wiggler on the back so now she’s a little sassy and a little sweet.
This version of the Hidden Gateway uses most of a sheet of cardstock and you cut away two panels and add some DSP on the remaining panels. So this is version #1 and here’s what you need to know to create it!
CUTTING/SCORING
BASE: (Basic Black) 8 1/2″x11″, score on the 11″ side at 5 1/2″; score on both 8 1/2″ sides at 2 1/8″; cut away 2 of the 2 1/8″ sections on the side you want to be the top. *refer to video if needed
FRONT: (Petunia Pop) 4″x5 1/4″; (Spooky Sweet 12×12 DSP) 3 3/4″x5″
INSIDE: (Petunia Pop) 2″x5 3/8″ (x2); (DSP) 1 7/8″x5 1/4″ x2; (Basic White) 4″x5 1/4″


For this second sample I used the Fright Night Bundle of products on the front. I love the dies, especially those spiders and their creepy little webs. I used the same Spooky Sweet DSP here. The base is Basic Black and instead of panels, this version of the Hidden Gatefold is simply a piece of DSP instead. The dies did most of the work here. I also added some Clear Wink of Stella to the spiders to give them so extra creepy shimmer. Here’s what you need for version #2!
CUTTING/SCORING
BASE: (Basic Black) 4 1/4″x11″, scored at 5 1/2″
FRONT: (DSP) 4″x5 1/4″
INSIDE: (DSP) 5 1/4″x8 1/2″, score at 2 1/8″ on each end; (Basic White) 4″x5 1/4″


Here’s one extra sample of version #2. I used a wiggler here for that cute little mummy on the front. As you can see, the DSP and dies did so much of the work making this super simple.
Of course, this fold works for all types of card. You can step it up or down by adding or taking away layers and using dimensionals, embellishments, ribbon and those fun wigglers.
Thanks for joining me today. Now I’m going out to unbury my Fall decorations! See you next week!!