
I love Bandstand Fun Folds because they display your works of art so beautifully! This one really shows off the adorable products in the Spooky Sweet Suite. No matter what the occasion, you will have fun making these and those lucky loved ones who receive these cards will feel so special. Are you ready to get into the spirit and make some of these? Let’s go!!


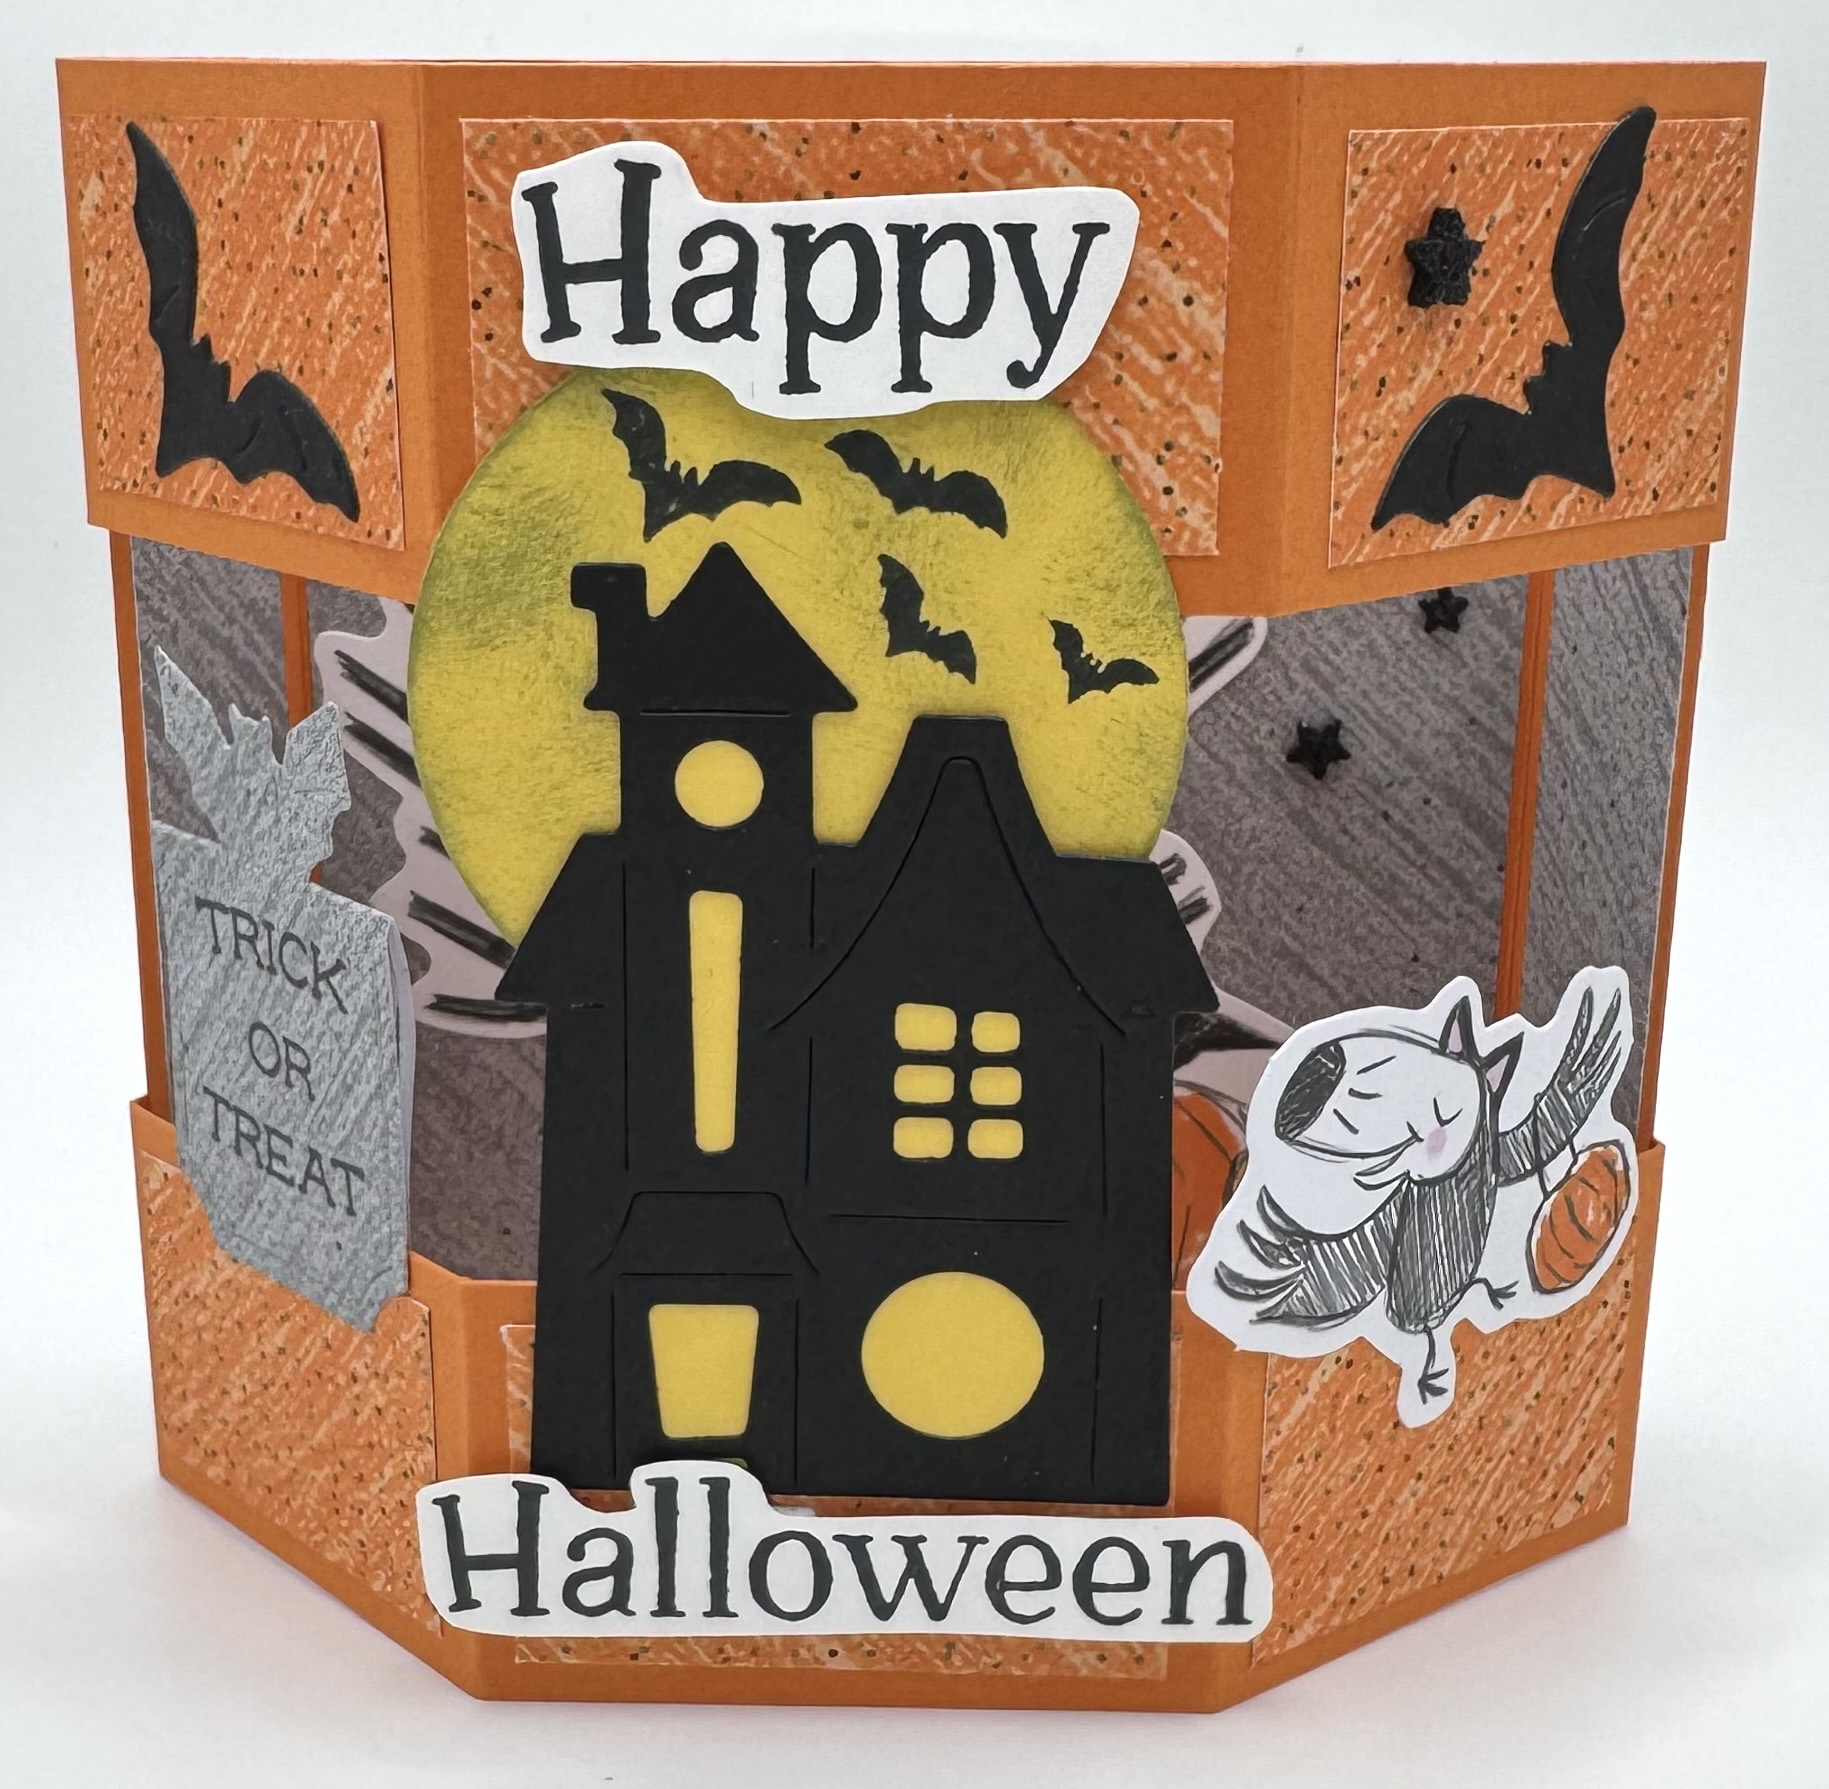
I really enjoyed making these cards. They’re really simple to assemble so you can get that part done and then dig in with the decorating part – the fun part IMO! The Spooky Sweet Suite of Products has everything you need to make the cutest cards for both the young and young at heart. I created this card with Pumpkin Pie cardstock as my base. I layered the Spooky Suite 12×12 paper inside and out and used those fun laser die cut pieces to decorate the inside so you get that shadowbox effect inside. The dies that coordinate with the Spooky Halloween Stamps are excellent – there’s a haunted house, bats, a tombstone and so much more. I used my 1 7/8″ circle punch to create the moon and rubbed on some Smoky Slate ink to make it a little spookier. The “trick or treat” words on the tombstone actually came from the Fright Night stamp set. Mix and matching these two products gives you even more “craftability”….that’s a word, right? Don’t forget to add some of those awesome Shimmer Star Foam Stickers. I love that this card fold perfectly flat to mail and isn’t even bulky.
Here’s what you need to know.
CUTTING/SCORING
BASE: (Pumpkin Pie) 4 1/4″x5 3/8″, with the 5 3/8″ at the top, score 3/4″ on each end; (Pumpkin Pie) 2 1/2″x7″, score on long wide at 3/4″, 2 1/2″, 4 1/2″ and 6 1/4″ and then cut in half at 1 1/4″ so you have two 1 1/4″x7″ strips.
DSP LAYERS: Inside layers: 3 3/4″x4 1/8″, 5/8″x4 1/8″ (x2); Outside layers: 1″x1 1/2″ (x4), 1″x1 3/4″ (x2)
BACK: (DSP) 5/8″x4 1/8″; (Basic White) 3 3/4″x4 1/8″


Look how cute this sample came out. I used my Stampin’ Blends here to color the cute trick or treater. I pulled the broom from the laser cuts and cut out one of the tag panels from the DSP to decorate the front, and I used one of the house scenes for the inside. I love all the bright colors. I embellished with Purple Adhesive Backed Sequins – sadly it retired but I had a few sheets. I use them a lot.


This card ended up being my favorite of the 3 cards. It was so random and I love it. I pulled DSP from the Celebratory Sips DSP – don’t be afraid to think outside the box!! I embossed the front tag in black embossing folder. I love the texture and shine it creates. To get the orange layer on the back of the tag, I just cut a second piece out of Pumpkin Pie and trimmed it into two small pieces to fit at the top and bottom. I die cut the webs and several spiders and even hung one from a piece of black string. I did this by sandwiching the string between two spiders. Some Clear Wink of Stella on the spiders made them a little “creepier”. Since I didn’t use any dimensionals on the front, I had some room on the back to add some depth. I created the Happy Halloween tag and used dimensions to pop it out. It came out great and I now have to create several more of these to send to my friends!
Creating these cards and this video really put me in a Fall mood! I think I’ll have to go find my Fall decorations and get to work giving the inside of my RV all the vibes!
Join me next week as I create some fun Thanksgiving cards you’re sure to love. I can’t wait to share them with you.
Happy Crafting and Happy Fall.