
We made it to October and can officially get into the Fall spirit! I love Fall and Thanksgiving happens to be my very favorite holiday. Today we celebrate the season by making a beautiful Thanksgiving card using the new Autumn Toile Suite of products. And, after hours of figuring out measurements and technique I think I finally conquered this fun fold so it should be much easier for all my crafty friends to create it. Follow along with me and make your own masterpiece!


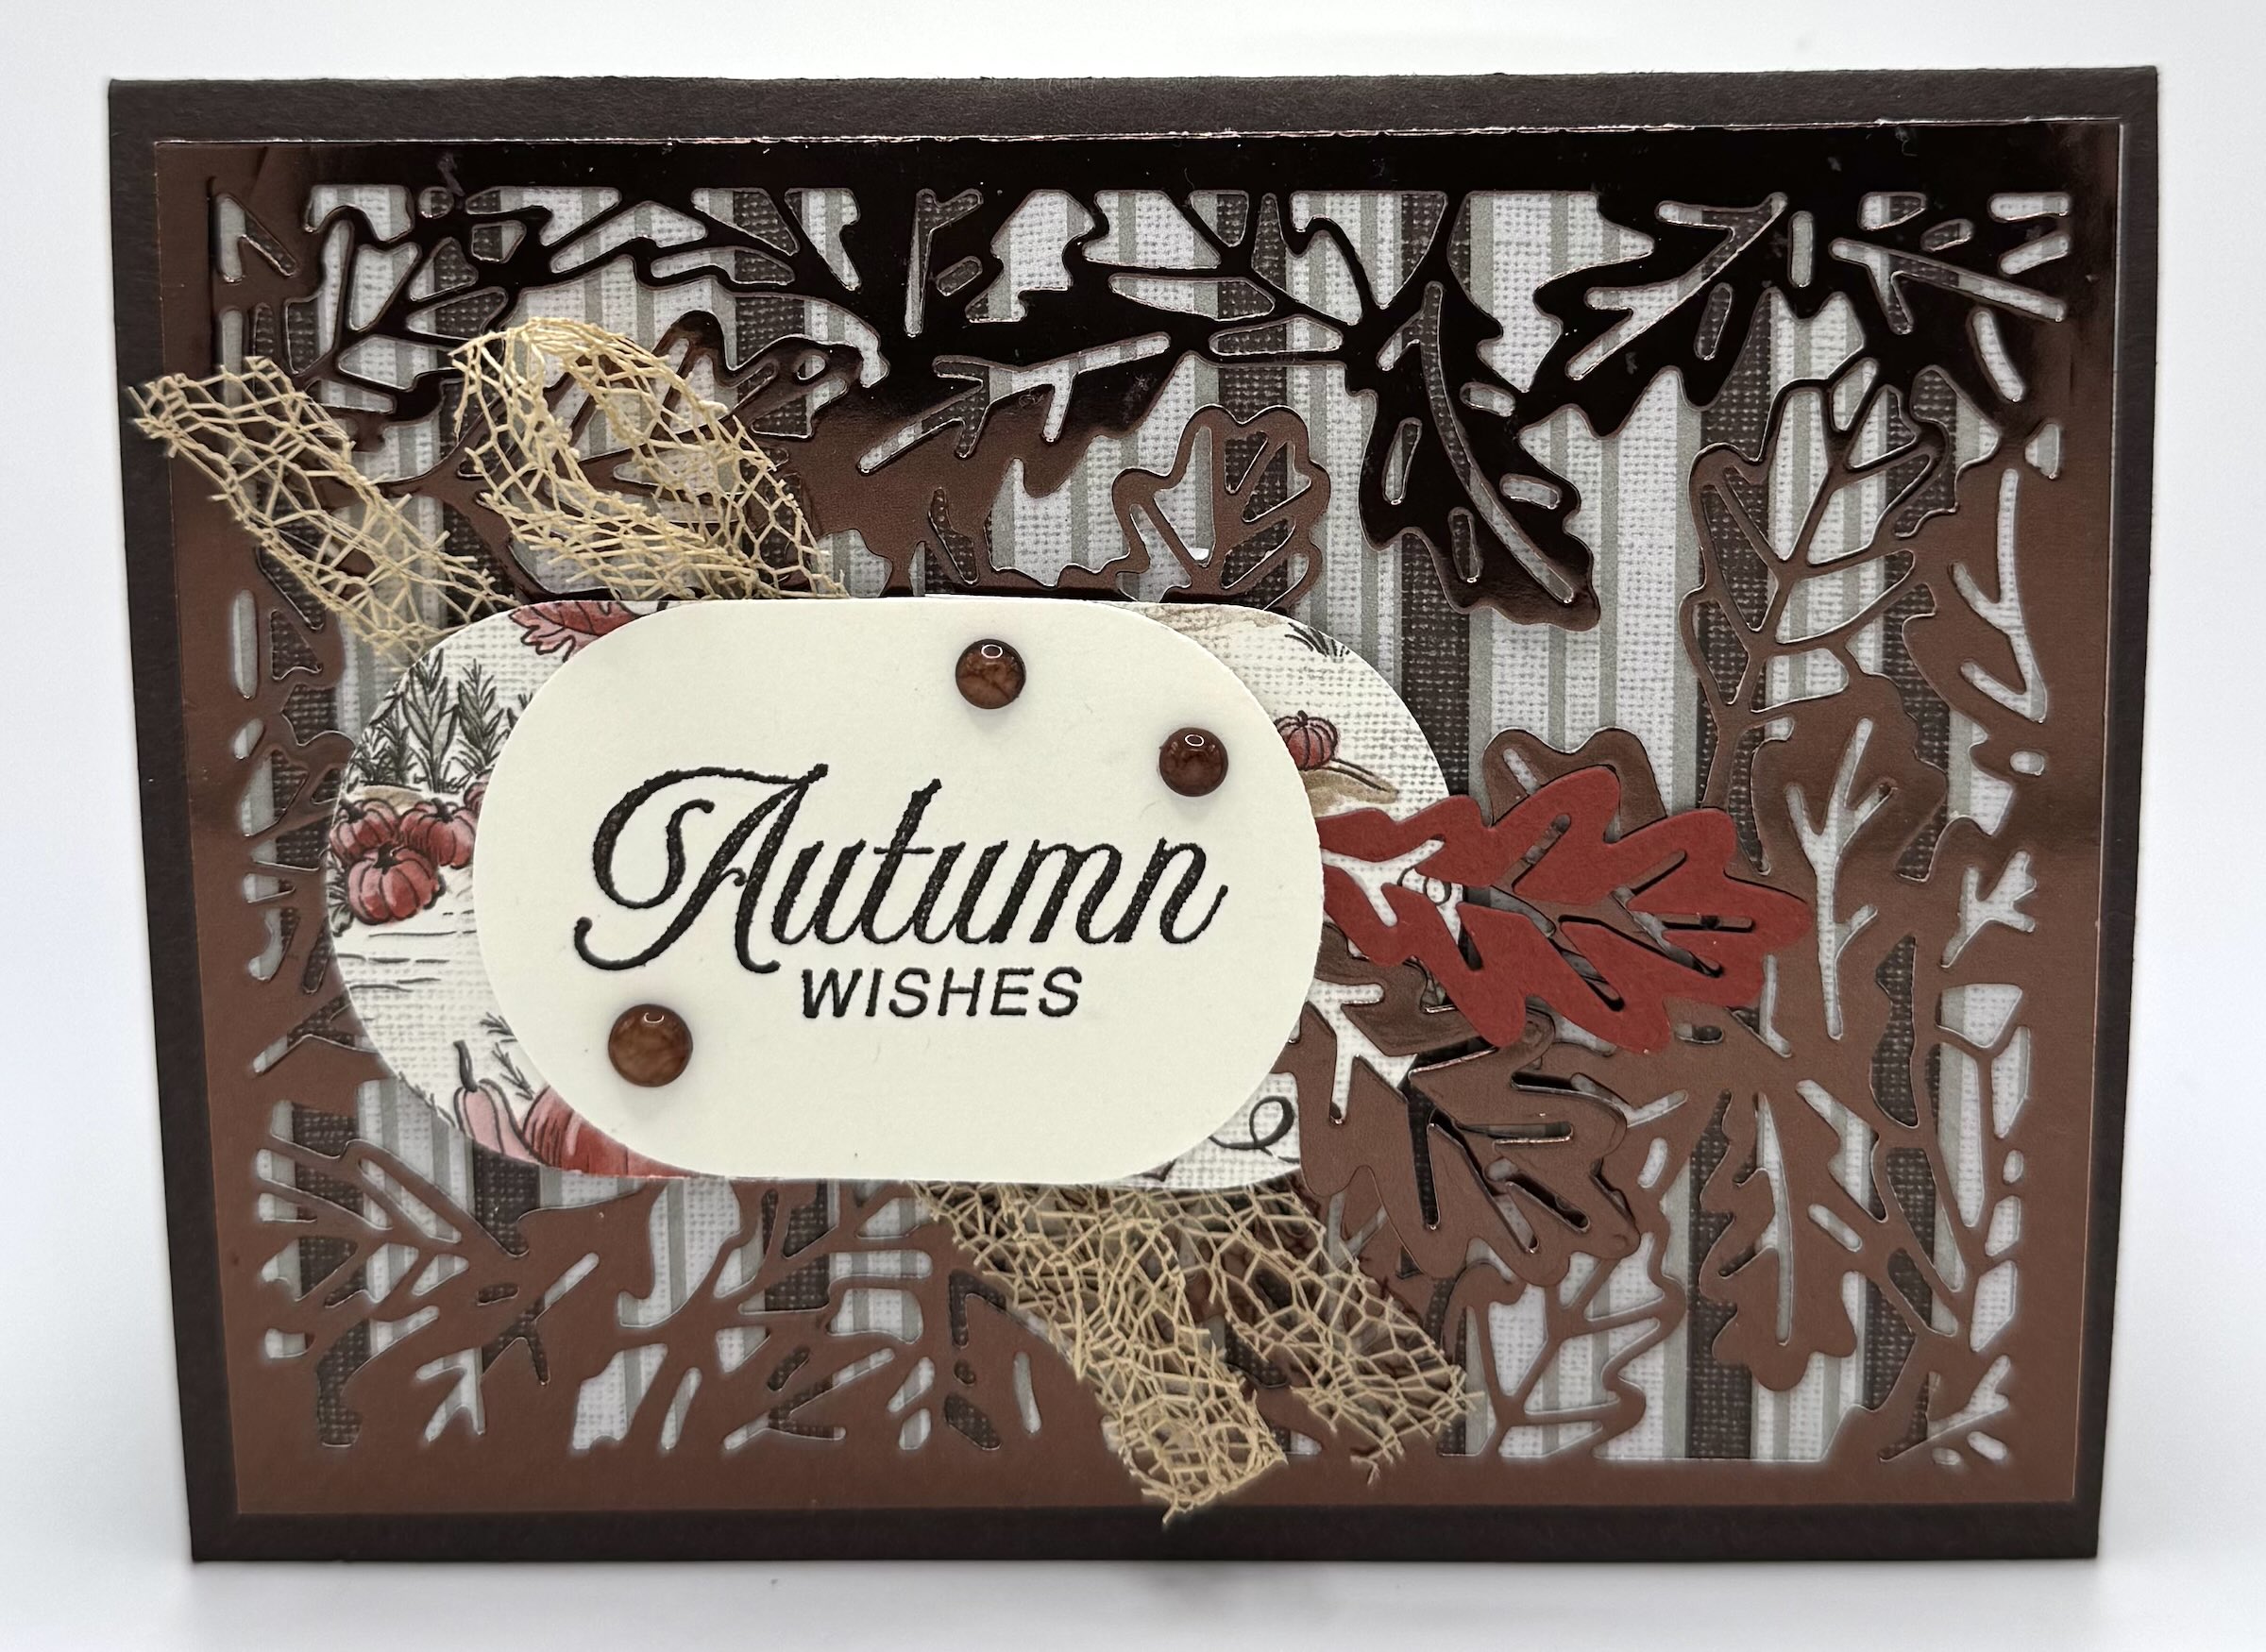
How pretty is this card!! The Autumn Toile Suite comes with so many great items. I didn’t even use the Autumn Trees Stamps in this card – no worries though because we’ll be doing a video with those gems very soon! The Autumn Toile Designer Series Paper really helps this card pop. And the dies…OMG so fun. I especially love the panel die that cuts outs the frame of leaves. As you can see, I die cut it using the gorgeous Earthen Toned Metallic Specialty Paper that is also part of the suite. The base of this card is Early Espresso and I used Very Vanilla instead of Basic White because the DSP has tones of vanilla. I stamped in Early Espresso and used my Stampin’ Blends to color in my die cut images. Just choose colors that compliment the colors in your DSP and you’re good to go. I used the Streaked Dots and Irregular Ribbon to embellish this card. This will be my Thanksgiving card this year!
You can learn how to make this by watching my tutorial below – or even craft along with me since you can pause it as needed. This fun fold has a lot of steps, so until you’ve made a few you’ll need to watch it. That’s how I learned as well – by making several.
CUTTING/SCORING
BASE: (Early Espresso) 5 1/2″x8 1/2″, scored at 4 1/4″
DSP for inside BASE: (DSP) 4″x5 1/4″ (x2) **this is optional and you can also use cardstock
MECHANISM FOR POP OUTS: (Early Expresso) 1 3/8″x7 1/2″, with the short side at the top, score at 1/2″ and 1″. Then, rotate to the long side and score down to the top horizontal score line at 2 1/2″ and also score up to the bottom horizontal score line. Flip it around and repeat on the opposite end. Then, with the long side at the top and making sure the thinnest section is at the top (the 3/8″ section), mark 1/2″ from each 2 1/2″ score marks. Use either your scoring blade or your Take Your Pick Tool with the scoring tip, make a score line from the 1/2″ mark down to the corner and then up to the opposite corners on each end. **refer to video and see the template below.

POP OUT PIECES: (Early Espresso) 2 1/4″x2 3/8″ (x2); (DSP) 2 1/8″x2 1/4″ (x2) *be sure to mark the longer side so that you attach that to the mechanism
POP OUT MECHANISM COVER: (Early Espresso) 2 1/2″x4 1/4″, score at 1/2″ and 1″; (DSP) 2 1/4″x3 1/8″; 1/4″x 2 1/4″
POP UP MECHANISM: (Early Espresso) 1″x3 1/4″, score at 1/2″, 1″, and 2 3/4″
**If you want to use a panel instead of die cuts to attach to your Pop up Mechanism, the panel would be 2 1/2″x 3″ and the DSP layer would be 2 1/4″x2 3/4″
FRONT OF CARD: (DSP) 4″x5 1/4″; (DIE CUT METALLIC PANEL) 4″x5 1/4″
BACK OF CARD: 4″x 5 1/4″
OTHER: die cuts, ribbon, embellishments


This Fluffy Squirrel Bundle is so stinking cute! I know I’m going to use this over and over and all through the year. (In my opinion, save your money and just get the stamp set. The coordinating punch only punches one of the two squirrels and the little acorn. You can easily fussy cut them.) The base is Crumb Cake and I layered it with Calypso Coral. I stamped the squirrels in Memento Ink and Pecan Pie. I colored the acorns with Crumb Cake and SU200 Stampin’ Blends. Timeless Plaid is the DSP. I just love that DSP. I used a tag from Stylish Shapes Dies for the greeting and stamped in Calypso Coral. I also added a bit of string.


This last card was so simple to decorate. I’m currently obsessed with the Sunflower 3D Embossing folder. It’s so versatile. I love how you can run a stamp pad lightly over the debased side so everything but the embossed image picks up color. That’s all I did here to create this rustic sunflower panel. I also used it on the inside pop out pieces. The base is Pumpkin Pie layered with Early Early Espresso. I used some Country Woods DSP on the inside. I embellished with some retired Pecan Pie ribbon and Antique Flat Pearls. By the way, I used the retired My Small Business stamp set because this card is going to one of my fabulous customers.
Thanks for checking out my blog and hopefully watching my video. I really love this card and I hope I have give you a tutorial that makes this fun fold easy to recreate.
Happy Crafting!
2 responses to “How to Make a Surprise Hidden Pop Out Card”
•
Gloriatrigodancause @hotmail.com
Great card, will make it soon.
•
Thanks Gloria! I’m so glad you like it. Happy Crafting