
It’s time to get serious about our fall card making! Can you believe we’re already in mid-August? Before we know it, the weather will begin changing and those beautiful fall colors will follow.
We’re in Colorado right now, so I’m hoping we’ll get a peek at some of those vibrant autumn colors before we head south to visit our families in Florida. Since I grew up in Florida—where fall doesn’t really exist—I love staying north long enough to enjoy at least a little bit of crisp weather and colorful leaves!
Today’s project celebrates another fun part of the season—Halloween card making! I’m sharing a Pull Up & Grow Fun Fold Card, and this interactive card design is such a fun one to make and receive.
Halloween happens to be my mom’s favorite holiday, so there’s a pretty good chance one of these cards will be heading her way!


A Spooktacular Halloween Pull Up & Grow Card
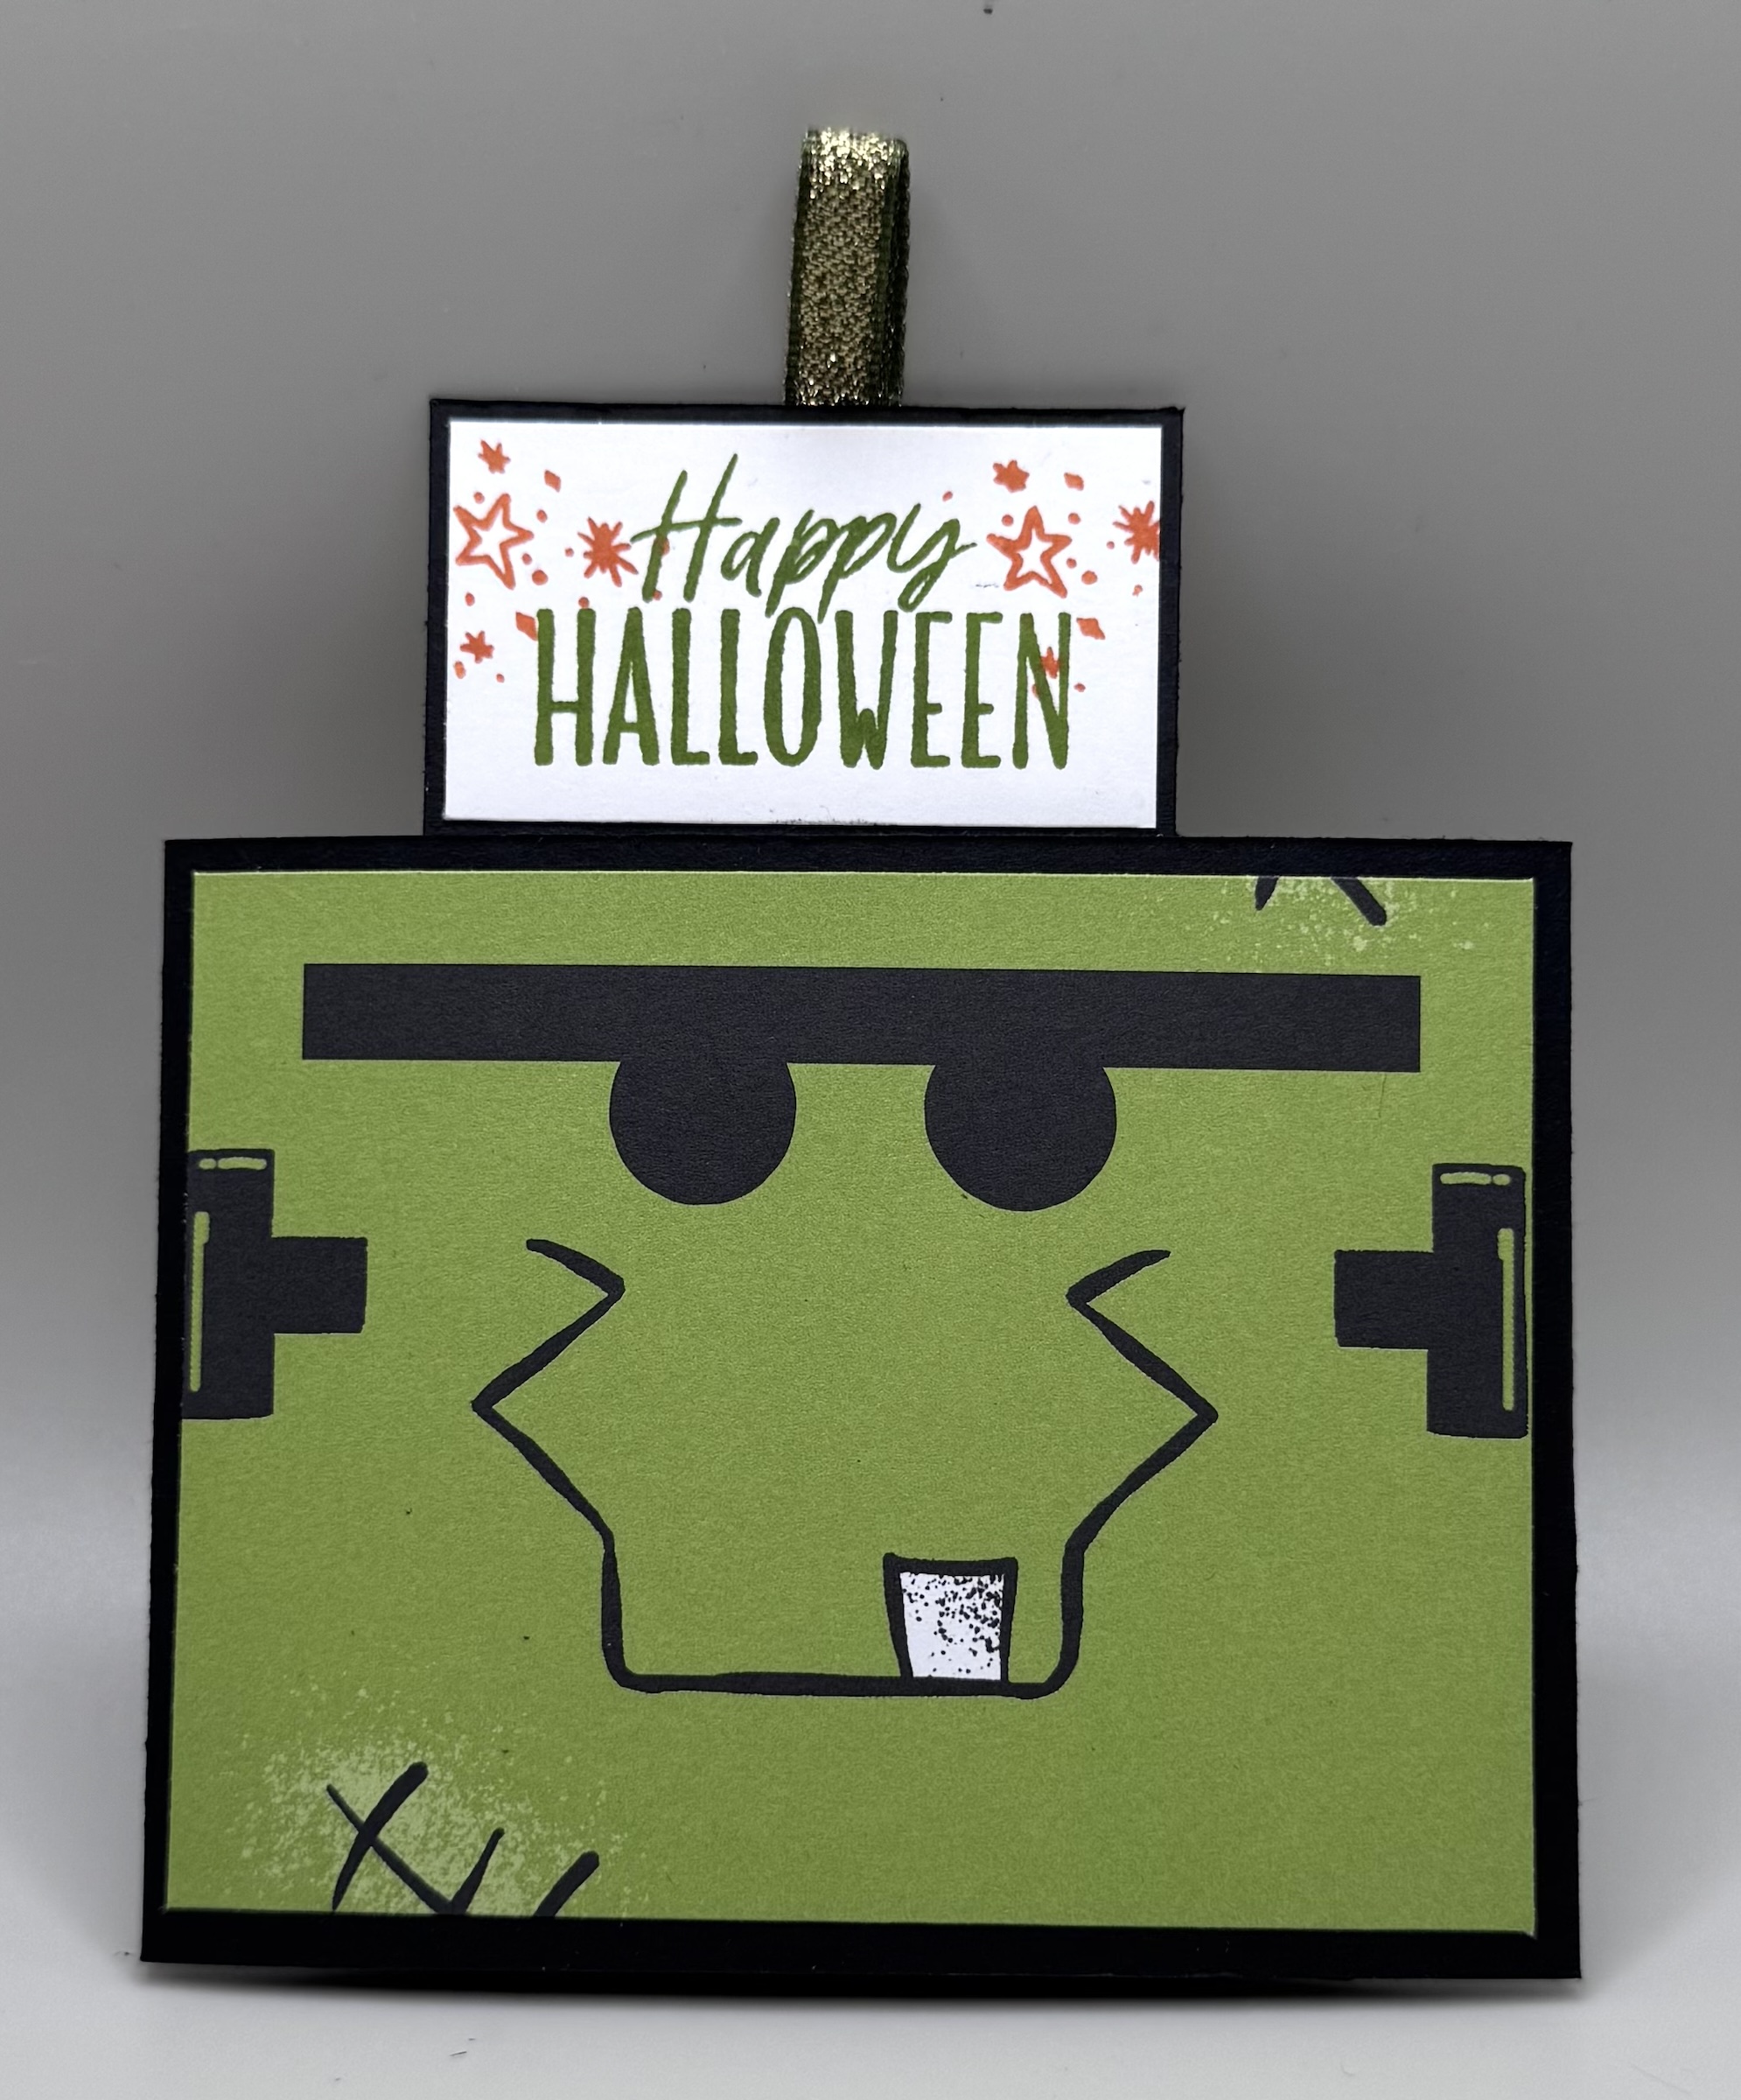
You just can’t look at this goofy face without smiling! Frankie might be the cutest Frankenstein ever.
The star of this Halloween fun fold card is the adorable Spooktacular 6” x 6” Designer Series Paper. One side features four silly, spooky faces—a pumpkin, ghost, skeleton, and, of course, our little Frankie Frankenstein. The reverse sides have fun striped patterns in orange, black, and white.
I’m already dreaming up more projects with this DSP. I think it would be adorable paired with banner dies to create DIY Halloween banners for my girls and their families. Who knows? I may even make one to decorate the RV!
For this card, I started with Basic Black Cardstock for the stacking panels. The rest of the card is made primarily with the Spooktacular DSP, along with a little Basic White Cardstock for the greeting and sentiment.
I love a card that uses minimal supplies but certainly doesn’t look like it does!
Here’s how to make this card.
CUTTING/SCORING MEASUREMENTS
BASE PANELS: (BASIC BLACK) 3 1/8″X11″, SCORED AT 4″ AND 8″; 3 1/8″x 10 1/4″, scored at 3 1/2″ and 7″ **mark with 3/4″ vertical lines and 3/8″ horizontal lines on right panels of both pieces. Refer to my video.
MECHANISM STRIPS: (Basic Black) 3/8″ x 3 3/4″; 3/8″x 4 3/4″
TOP POP UP PANEL: (Basic Black) 2 7/8″x2 7/8″; (DSP) 2 5/8″x2 5/8″
MIDDLE POP UP: (DSP) 2 7/8″x3 1/4″
BOTTOM PANEL: (DSP) 2 7/8″x 3 3/4″; (Basic White) 2 7/8″x 3 3/4″
**You can also cut one extra DSP for the back of the top two pop ups!
GREETING PANELS FOR THE TOP: (Basic Black) 1 1/4″x2 1/8″ (x2); (Basic White) 1 1/8″x2″ (x2); Plus a little scrap to attach it to. your top pop up piece.


A Playful Cutest Crew Fun Fold Card
My second Pull Up & Grow Fun Fold Card features one of my favorite critter stamp sets—the Cutest Crew stamps. These playful little kitties make me smile every time I see them!
For this version, I used Daffodil Delight for the card base and mixed and matched patterns from Designer Series Paper, including Mixed Up Patterns DSP.
I colored the kittens using Stampin’ Blends in Crumb Cake, Smoky Slate, Timid Tiger, and Golden Glow, with Daffodil Delight for the butterflies. Stampin’ Blends make it so easy to add beautiful color and personality to stamped images.
A few die-cut butterflies, a cute little tag, and some embellishments finished off the card perfectly.
It’s another happy handmade card that just makes me smile!


An Elegant Floral Pull Up & Grow Card
My final card was actually my inspiration and practice card.
For this version, I started with a Basic Black card base and paired it with Artisan Sketched Garden Designer Series Paper. I used the beautiful Begonia Belle stamps, which were the July Product of the Month.
The flowers were stamped in Melon Mambo and the leaves in Garden Green. Because these are two-step stamps, you can create a beautiful layered look with very little effort.
This card has a similar feel to the project I shared in last week’s video. One little trick makes a big difference: gently curl the flowers and leaves with your bone folder before adhering them to the card. It gives them extra dimension and makes them look much more natural and alive.
Tips for Making a Pull Up & Grow Fun Fold Card
What makes this interactive fun fold card so unique is the way it expands upward when the recipient pulls on the top.
Because the mechanism isn’t immediately obvious, I recommend adding something that gives the recipient a visual clue to pull up. You could use a tag, ribbon, die-cut element, or even leaves like I used on my floral card.
Just remember to keep your finished design within the boundaries of a standard A2 card envelope. You don’t want that cute pull tab or decorative element sticking out so far that your card no longer fits in the envelope!
Once you make a few of these Pull Up & Grow cards, I think you’ll start imagining all kinds of possibilities.
Try adding Designer Series Paper to the back panels for even more color and pattern. You could change the theme for birthdays, Christmas, thank-you cards, or just-because cards.
You could even add tiny photos to some of the panels. How cute would that be for a birthday, anniversary, or special keepsake card?
That’s one of my favorite things about learning a new fun fold card design—once you understand how the mechanism works, you can make it completely your own.
I hope this Pull Up & Grow Fun Fold Card tutorial inspires you to give this interactive card design a try. Whether you make a silly Halloween version, a playful critter card, or an elegant floral design, there are so many ways to customize this fun fold.
Happy Crafting!
4 responses to “How to Make a Pull Up & Grow Fun Fold Card”
•
Hello, I was wondering how to get a catalog that’s not a downloaded version. I’m also a rv person and the my internet connection isn’t the best lol.I love your card designs.
•
Hi Jodie. If you don’t already have a Stampin’ Up! Demonstrator you order from, I’d be happy to order a catalog and send it to you. You can e-mail me directly with your name and mailing address. My e-mail is jill@wanderingstamper.com. What type of RV do you have? Do you RV full time?
•
love ur cards so much,just finished the one with the ferns, i got into stampin up just as a crafter when the new ink pads came out!! love them!!
•
Hi Jean! I’m so glad you enjoyed making this card. Thanks for watching!!