
I absolutely love creating cards that are truly unique—and this one definitely fits the bill! The main card features a fun origami-style fold that gives it a standout look while still being surprisingly simple to create.
Double-sided Designer Series Paper is perfect for this design since both sides get a chance to shine. One of my favorite things about this card is how easily you can completely change the look—just switch up the DSP and you’ve got a fresh style for any occasion.
Another bonus? This design uses very little cardstock, so it comes together quickly. It’s perfect for when you want to create something impressive without spending a lot of time or using a ton of supplies.
It’s quick, unique, and incredibly versatile—you’re going to have so much fun making this fold again and again!


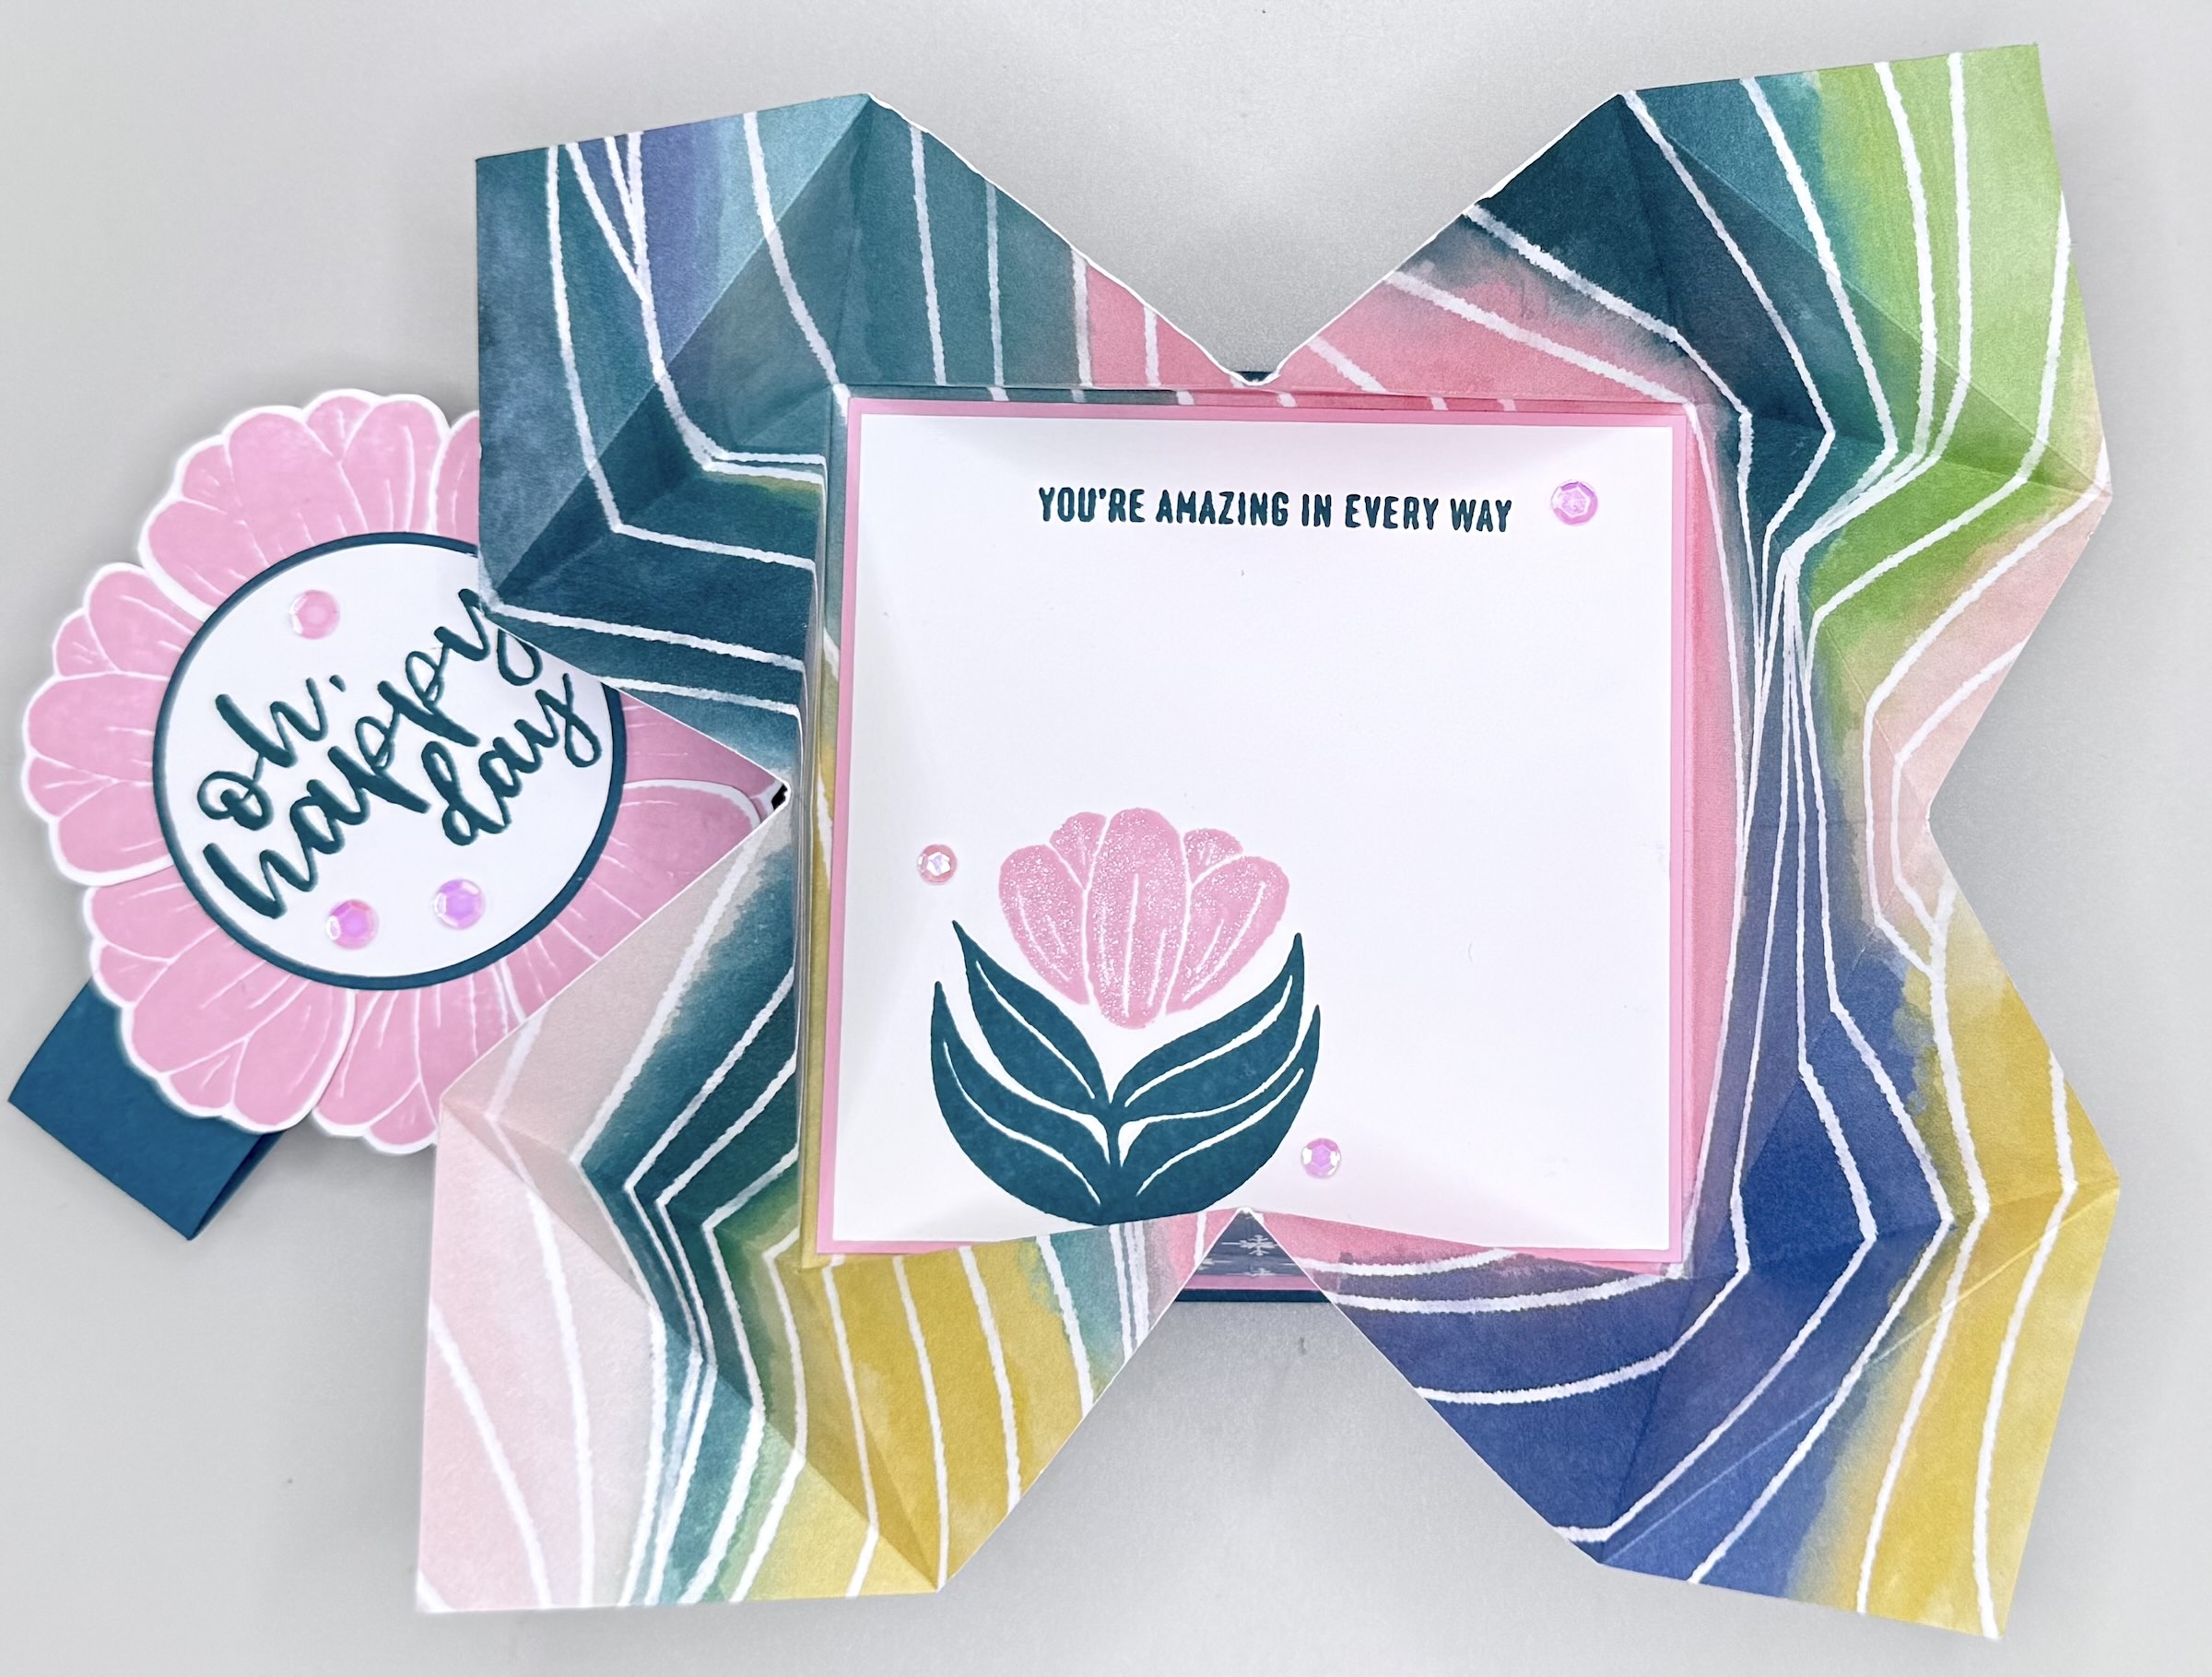
Isn’t this card just beautiful? For this sample, I used the Painted Illusions 12” x 12” Designer Series Paper—February’s Product of the Month—and it is absolutely gorgeous. If any is still available in March, be sure to grab it as your Product of the Month option…you don’t want to miss this one!
I paired it with the A Round of Hellos stamp set, which is so versatile. It coordinates perfectly with circle dies and punches, and you can create a variety of flowers and backgrounds just by changing how you stamp the images.
For my color palette, I used Pretty Peacock, Pretty in Pink, and Basic White cardstock, along with matching inks. A little Clear Wink of Stella adds the perfect touch of sparkle, along with some pretty embellishments. For the belly band, I stamped six flowers, fussy cut them, and layered them around the greeting for added dimension.
CUTTING INSTRUCTIONS
BASE: (Pretty Peacock) 4 1/4″x4 1/4″; (Pretty in Pink) 4 1/8″x4 1/8″
ORIGAMI: (DSP) 8″x8″ **refer to video for folding – it’s simple and after a few you’ll be a pro
INSIDE LAYER: (Pretty in Pink) 3 7/8″x3 7/8″; (Basic White) 3 3/4″x3 3/4″
BELLY BAND: (Pretty Peacock) 1″x10″
EXTRAS: 1 7/8″, 2″ and 2 3/8″ circle punches (or circle dies in similar sizes); embellishments; Clear Wink of Stella


Have you seen the Beach Boardwalk 12” x 12” Designer Series Paper? It’s such a fun collection! I didn’t pick up the full coordinating suite, but I couldn’t resist the paper. I paired it with the Rolling Waves Bundle—and it was the perfect match. It gives total “carnival on the water” vibes!
For this card, I used Pool Party, Pretty in Pink, and Basic White cardstock. I accidentally stamped in Coastal Cabana instead of Pool Party—but it still works beautifully! I did some fussy cutting for both the belly band and the inside of the card. You might notice the images are partial—that’s because I used designs from the edges of the DSP. Why waste any of that gorgeous paper?
I finished it off with some ribbon and a few In Color embellishments. I absolutely love how this one turned out!


For the final sample, I used the Cute as a Bug Suite—and I just can’t get enough of it! It’s so fun to color, and there are endless ways to use both the stamps and the paper. Those little bugs are just adorable.
My card base features Mossy Meadow and Daffodil Delight, with stamping in Mossy Meadow. I colored the images using Stampin’ Blends, but you can also die cut images directly from the DSP, which makes it even more versatile.
This card is just so cheerful and fun!
I know you’re going to love making these cards. Anyone who receives one is going to be so surprised and delighted by the unique way it opens—these are the kinds of cards that truly make an impression!
Happy Crafting.